Have you ever gone to a show and seen someone there with a camera and paid more attention to them than the actual artist or band you were there to see? If so then you might want to try out shooting shows. After having shot tens of thousands of images in the span of over a year of many different bands, both local and legendary at many different venues, I feel qualified to give you a few pointers.


Shoot in MANUAL!
Thanks to the constant change in lighting in most venues, it’s best to shoot with your camera in manual mode, where you can set your shutter speed, ISO, aperture, and white balance manually. This will help you stay consistent with your exposures and catch more of what’s happening rather than worrying if your camera caught the photo at the right exposure. There are plenty of YouTube tutorials on shooting in Manual Mode, and once you get the hang of it, it’ll be no issue at all! (Possible Nothing Mag photography tutorial in the future?)
Know Your Camera’s Limits
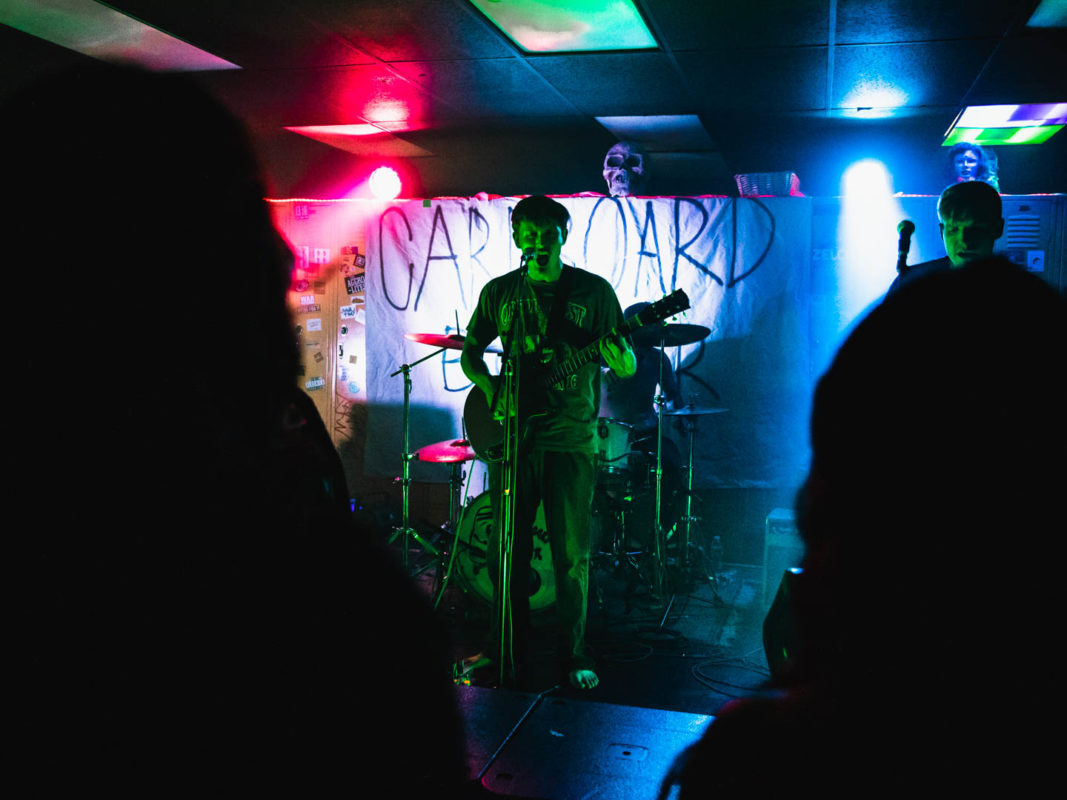
Unless you have a pricey full-frame camera that works well in low light with a bag full of decent lenses, you probably will have limits as to what you can shoot. Even with my rig, I have limits and prepare for them. Although some venues have great lighting for the audience they don’t always cut it for my camera. In that case, I need to bring in a flash with me and have plenty of extra batteries for it. If the venue is too big I know I need to stay down near the pit area for as long as possible. If the “Three Song Rule” is in place and I can’t shoot from far, I’ll just tuck my camera away and enjoy the show.

Speaking of Flash…
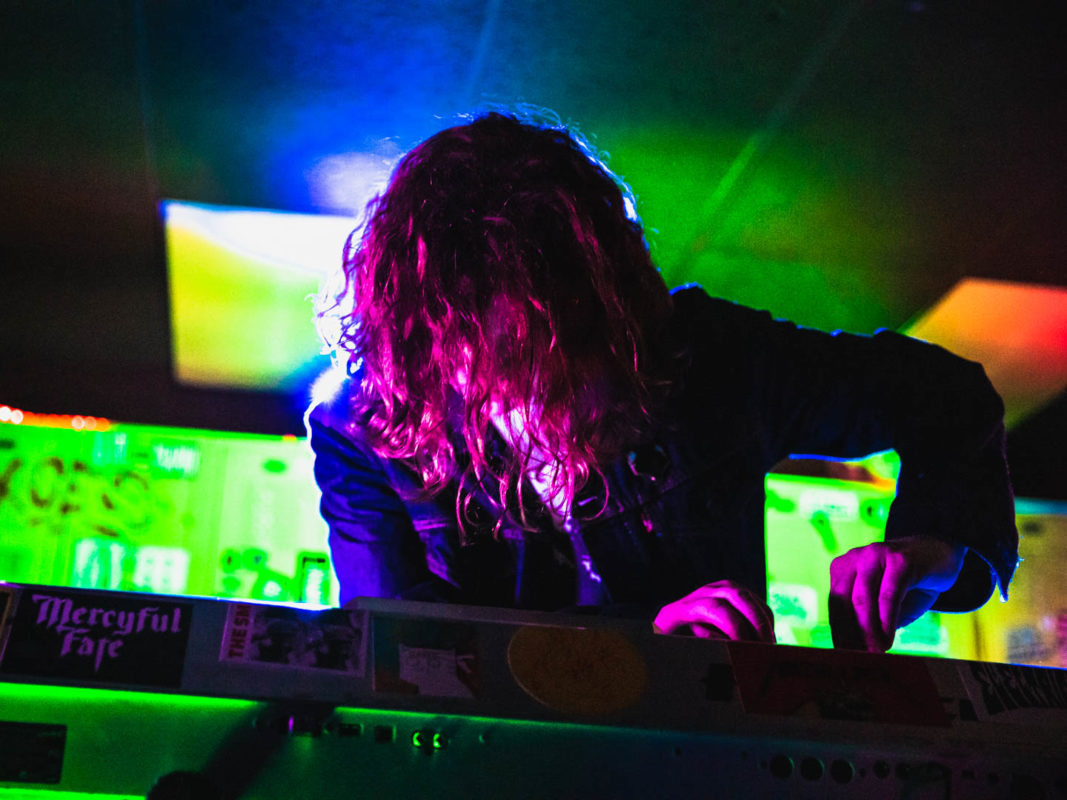
Never point your flash directly at the artist’s face…no, seriously. The artists are already trying to focus on their performance, and they might even be nervous to be on stage, the last thing they need is you blinding them while they’re playing. I’ve popped my flash off in my face a few times on accident and I can tell you from experience that its blinding and it’s the type that lingers on with purple dots in your vision for a solid amount of time. Get yourself a flash that you can bounce off the ceiling or that has a card built into it that can diffuse and bounce it forward. Your photos will also look nicer as a result. As a whole, don’t do anything that disrupts the band’s performance. Don’t stand directly in front of them on stage, if you are on stage, get in, get your shot, and get out quickly so as not to disrupt the performance.
Get There Early, Stay There Later!
Arrive early for a show and stay there as long as possible! Getting there early lets you scope out the layout of the venue for shooting and find the best angles. You may also get a chance to get some shots of people there and if nothing else, you can warm up your eye with the opening bands to get prepared when the band you’re there for comes on. You should also stay at the venue as long as you can (before security gets involved!), that way you can find the bands and connect with them and show them some of your shots, I’m sure they’ll love them and appreciate you for it!
Have a “Shot List”!
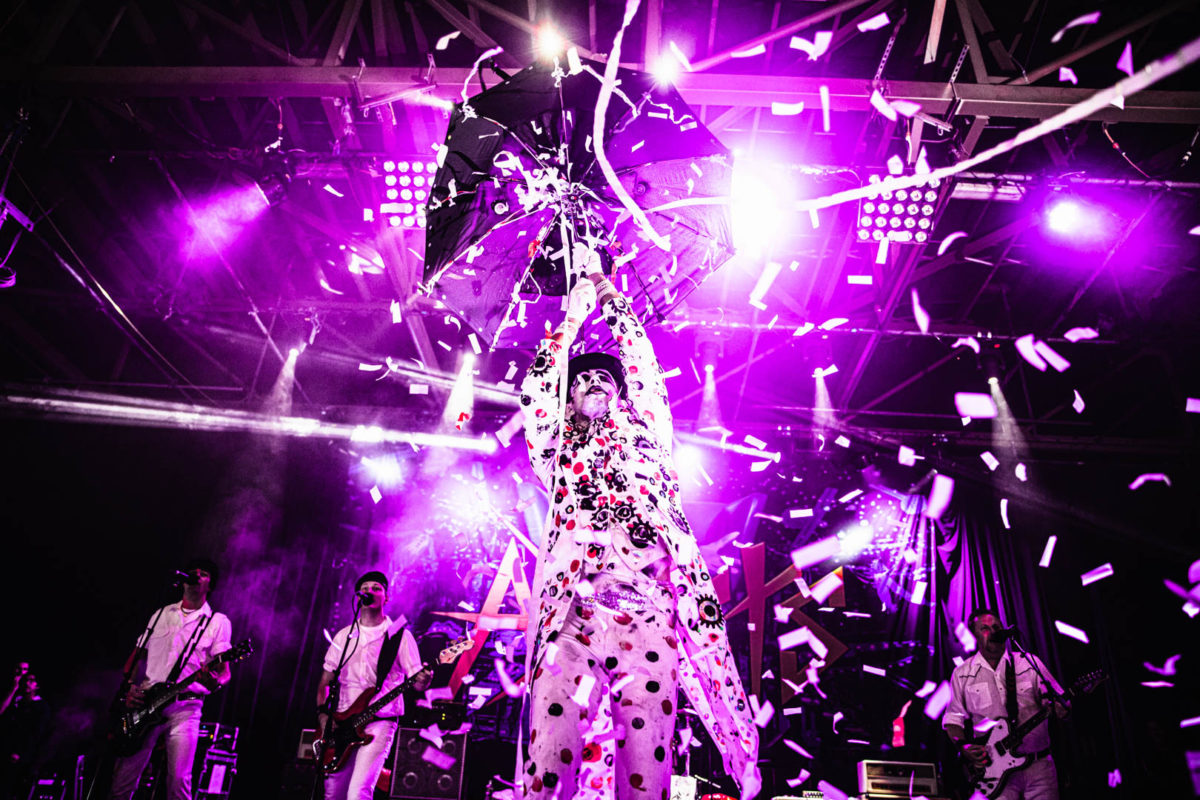
Do your research before the show to see how the band or artist behaves on stage. Do they remain still and calm throughout the performance, or do they jump around the stage like a pack of spider monkeys? Do they wear specific costumes or have specific props for certain songs? It’s best to know this BEFORE you show up so that you’re ready to catch these moments. It’s also best to know what kind of shots you want to get before showing up. A few shots that I like to get:
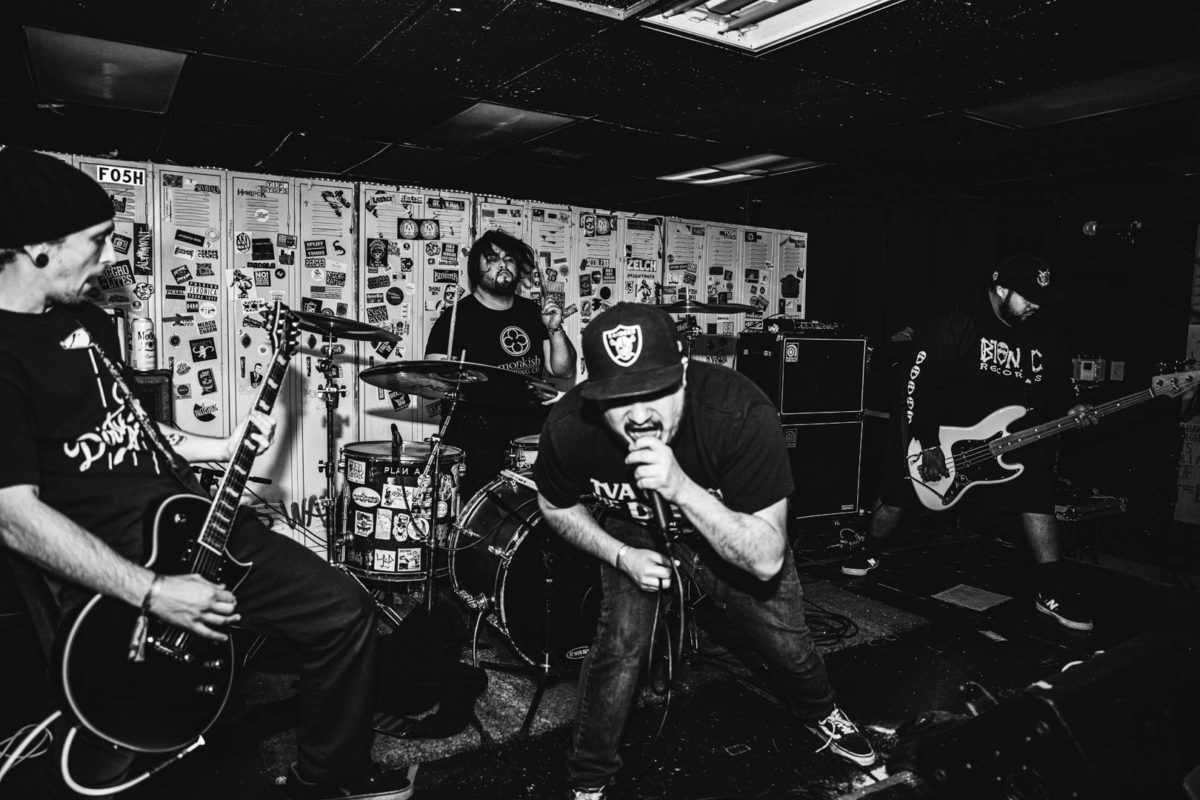
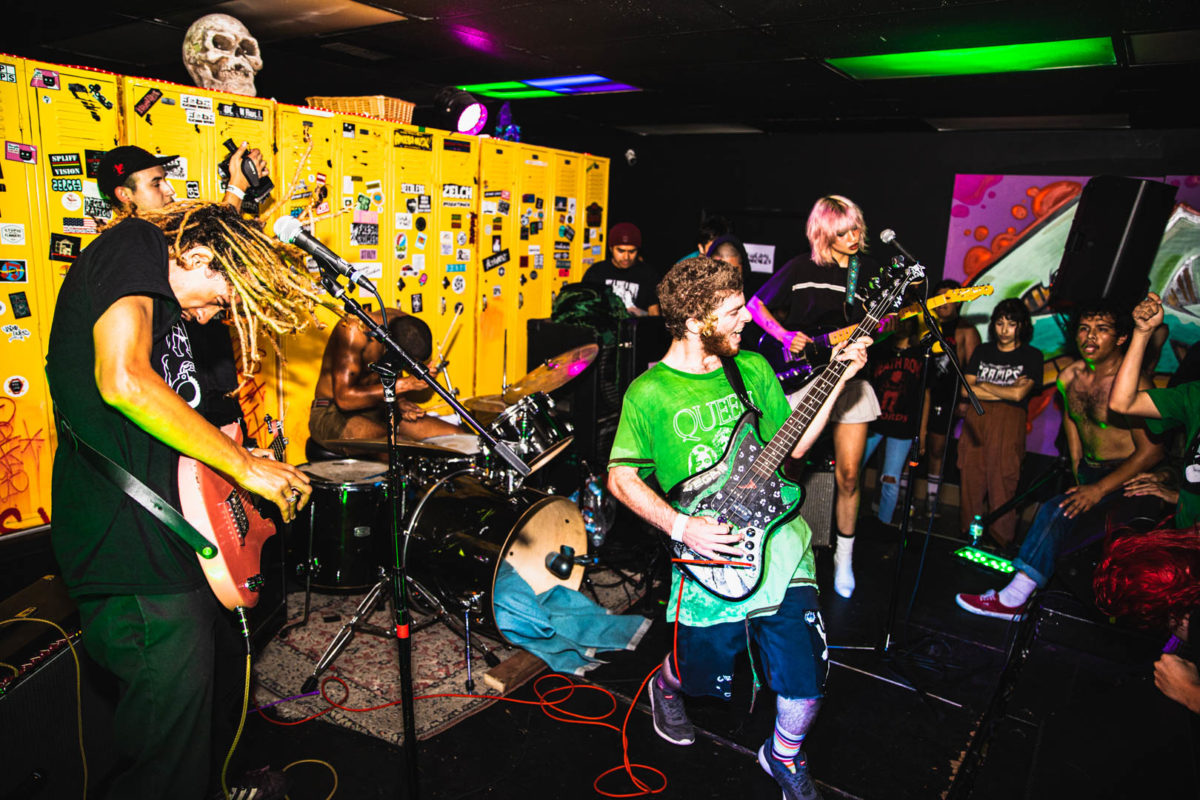
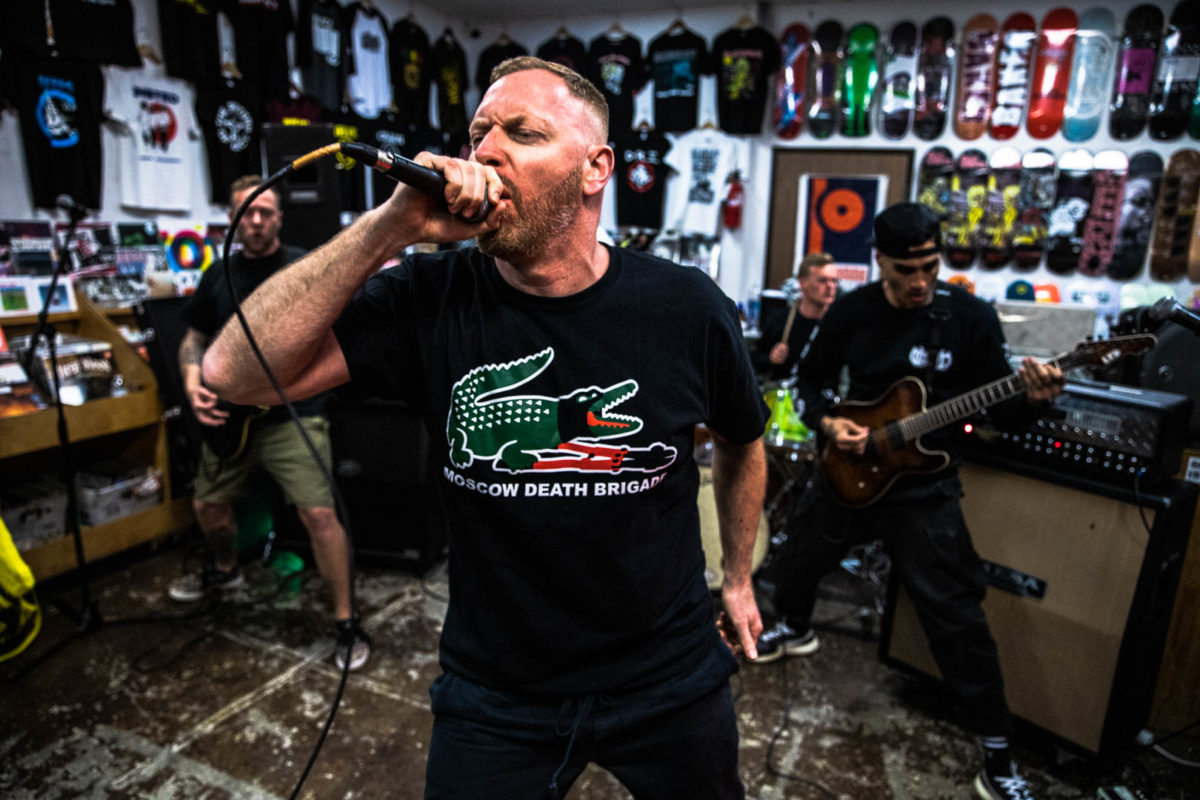
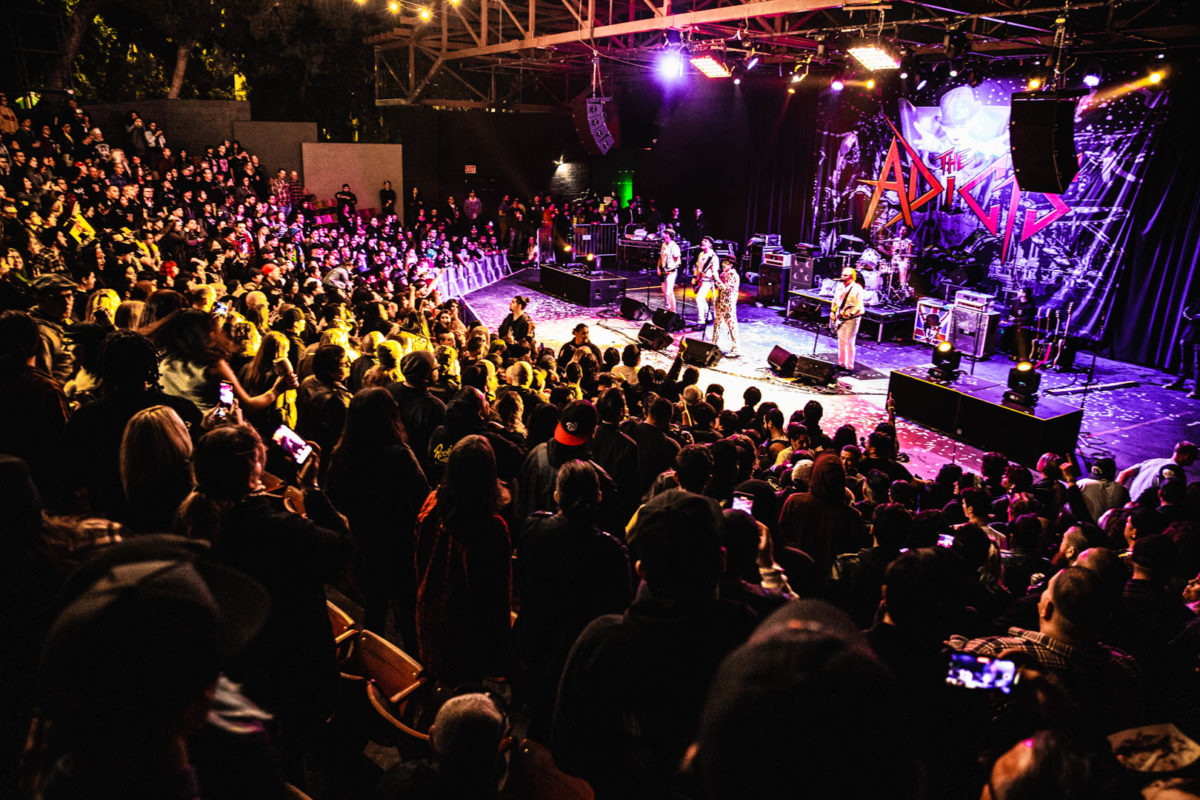
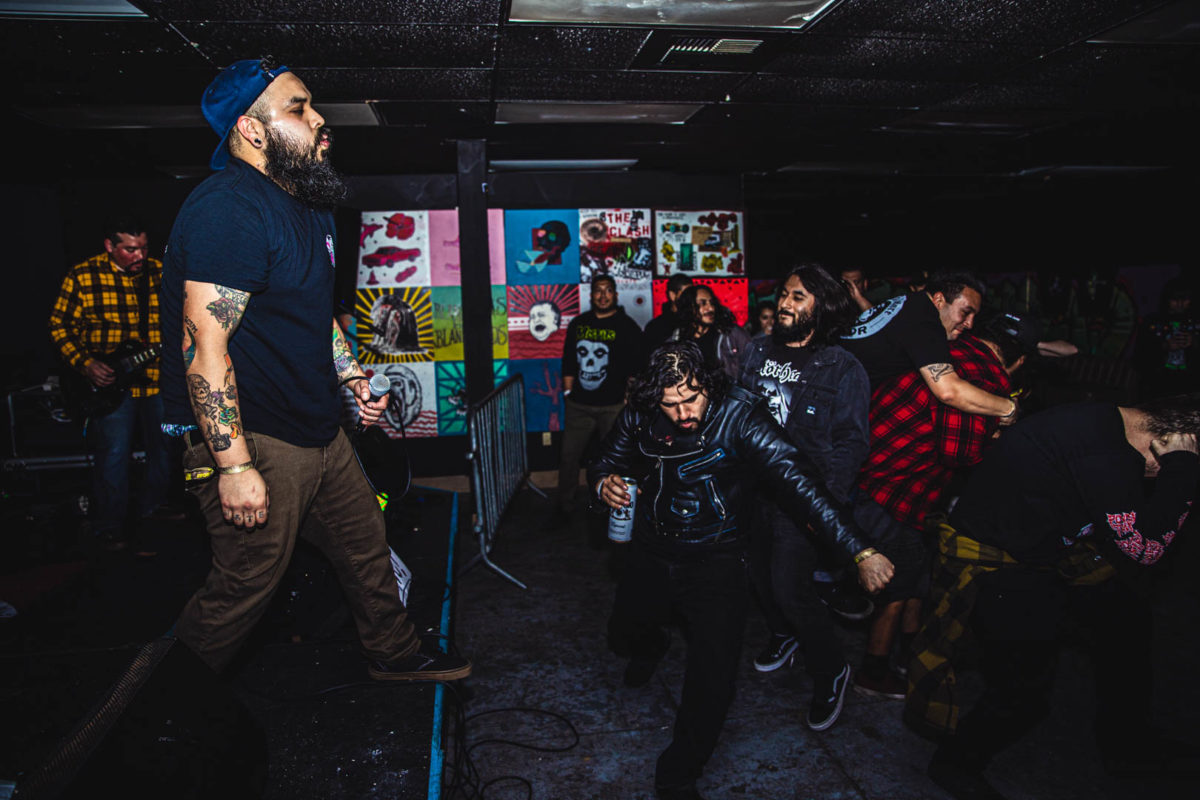
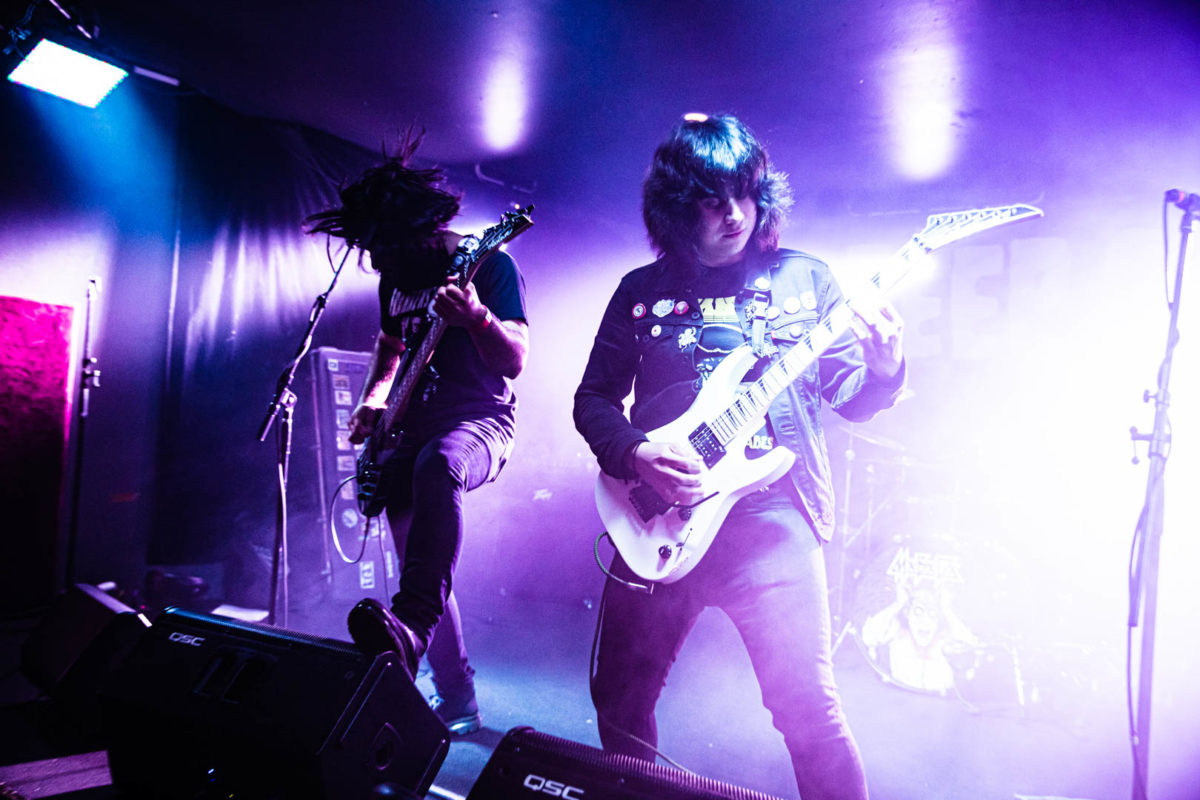
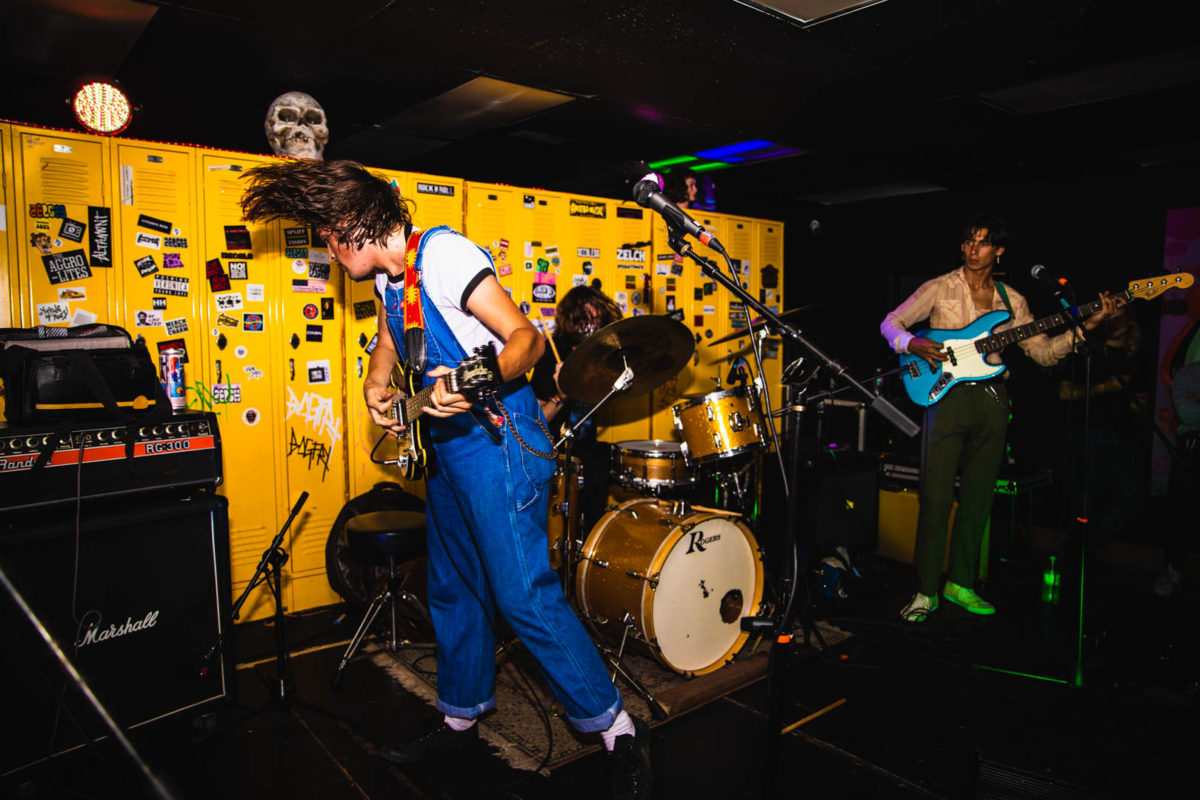
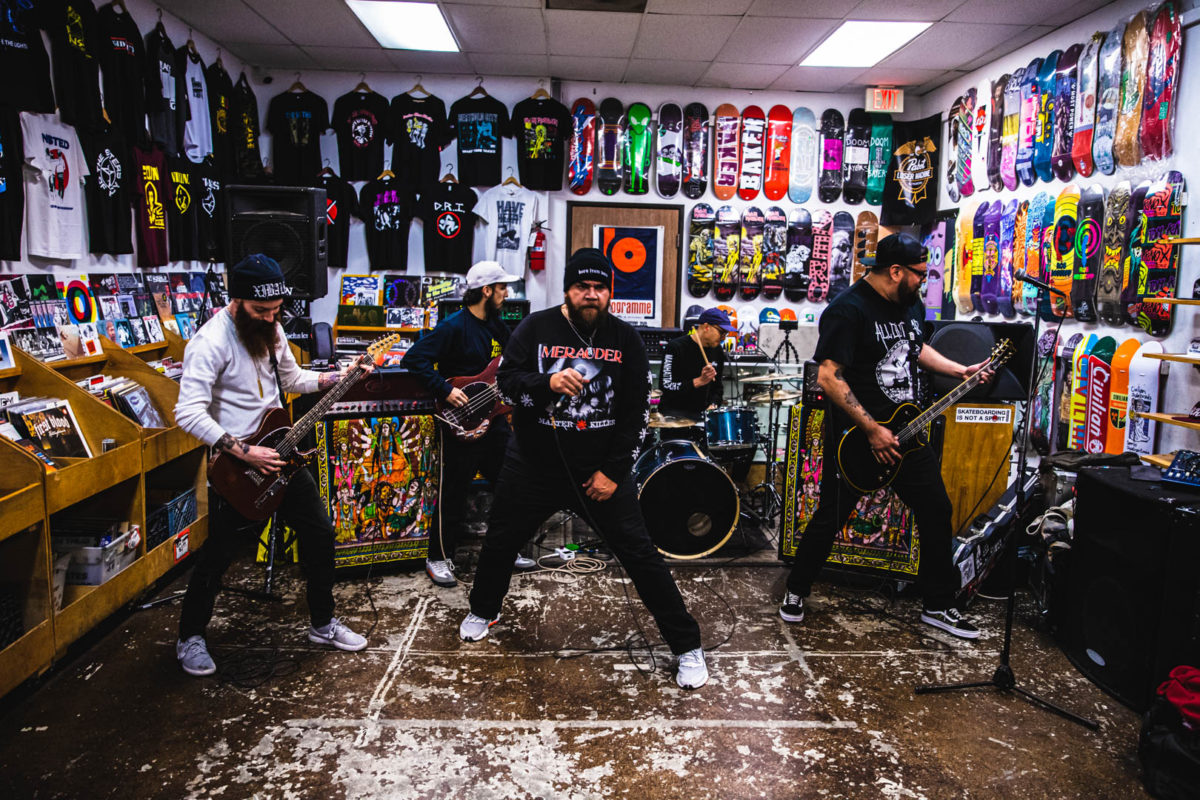
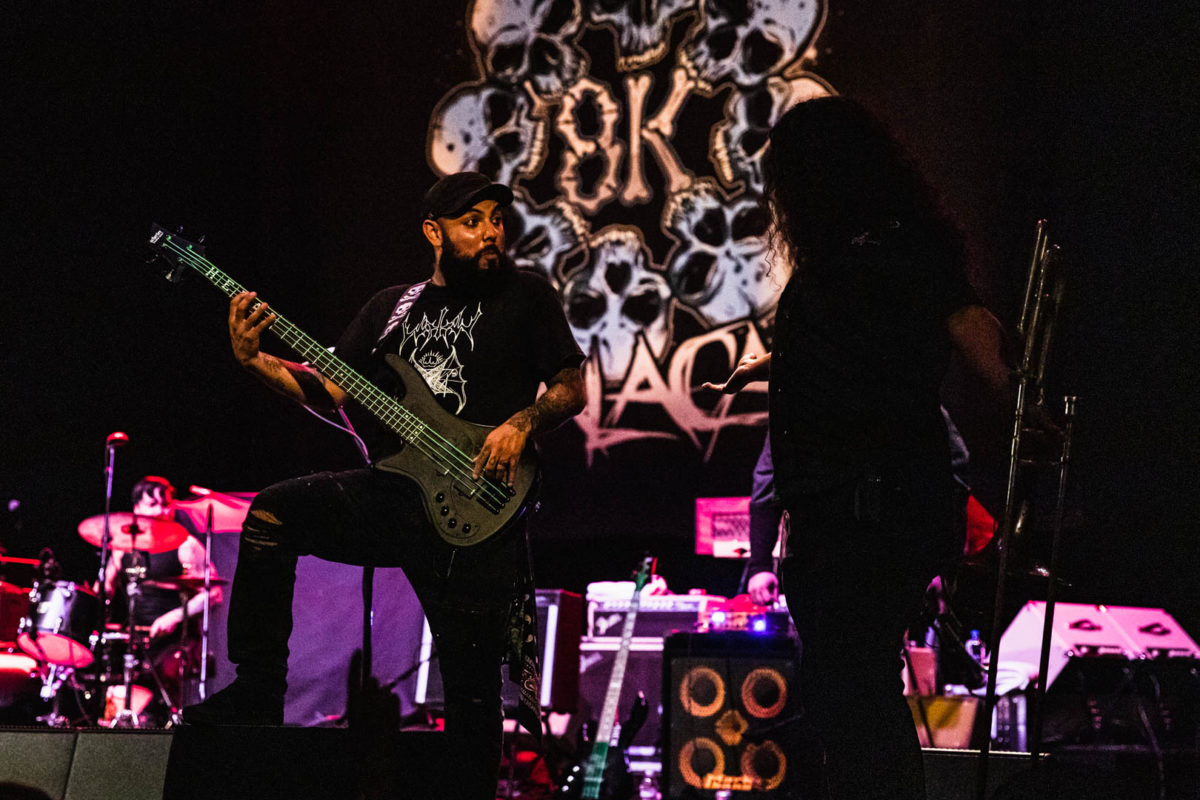
The Wide Shot
This shot shows every member of the band, preferably mid-action.
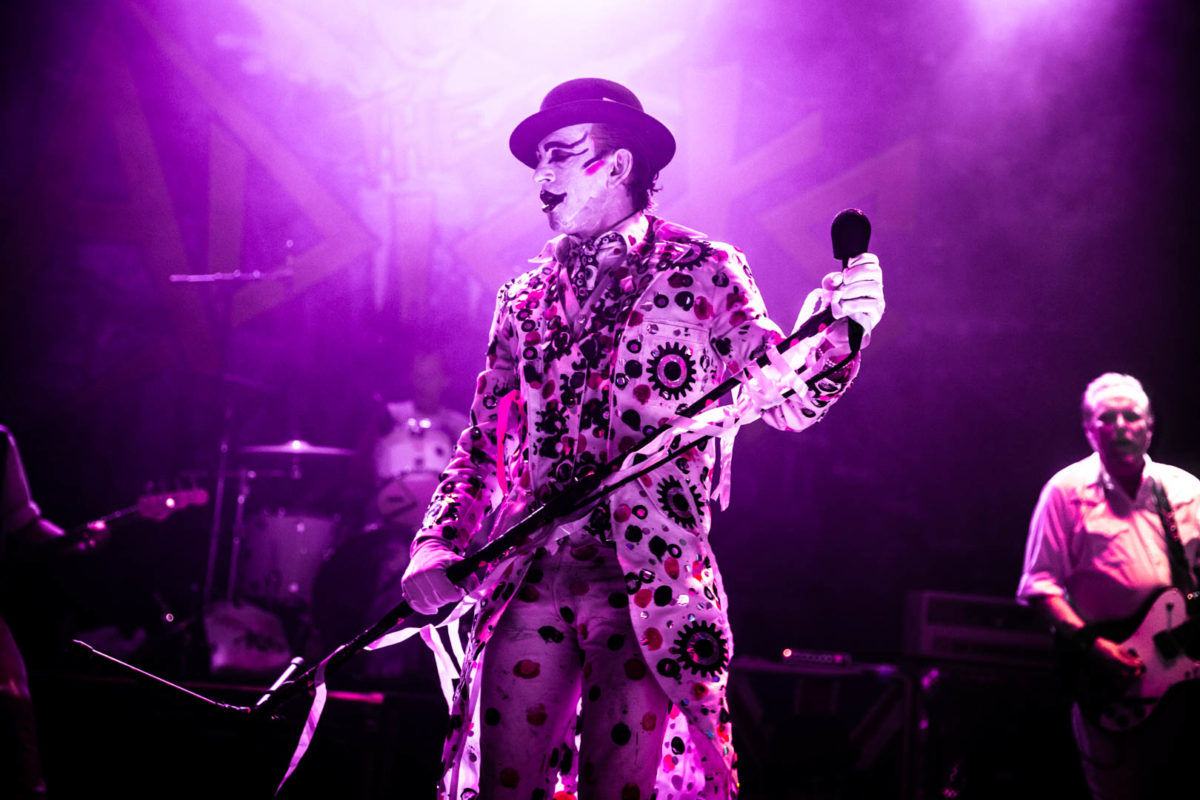
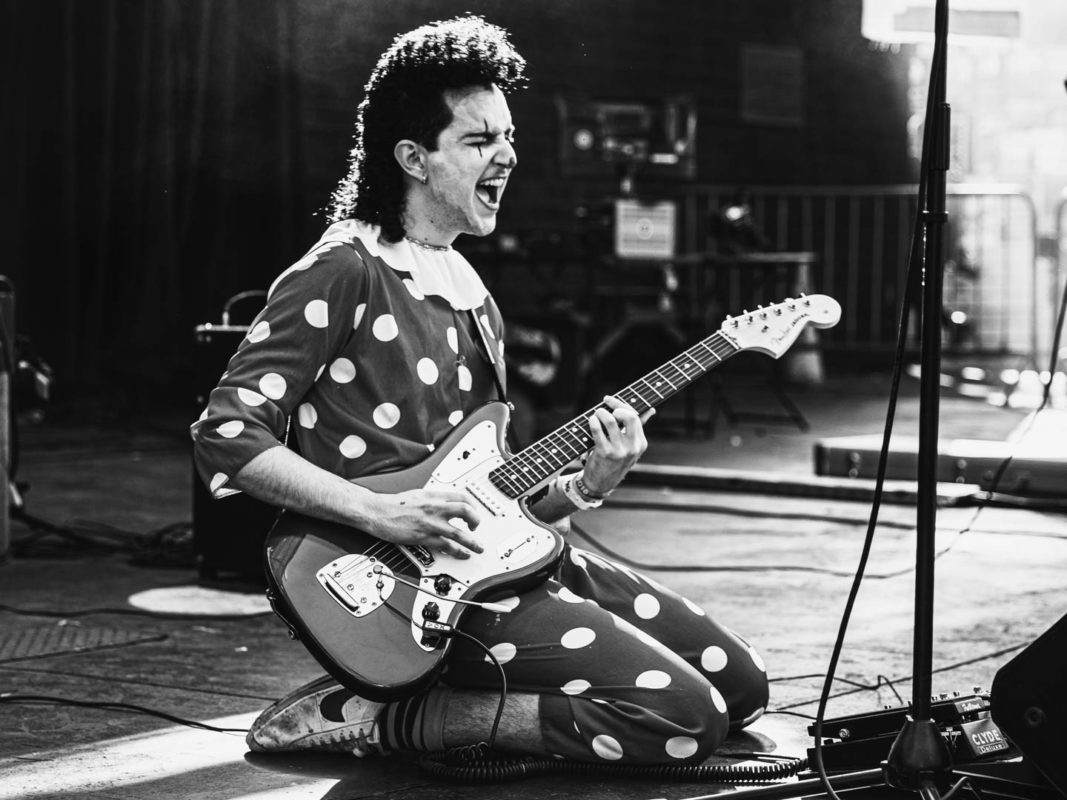
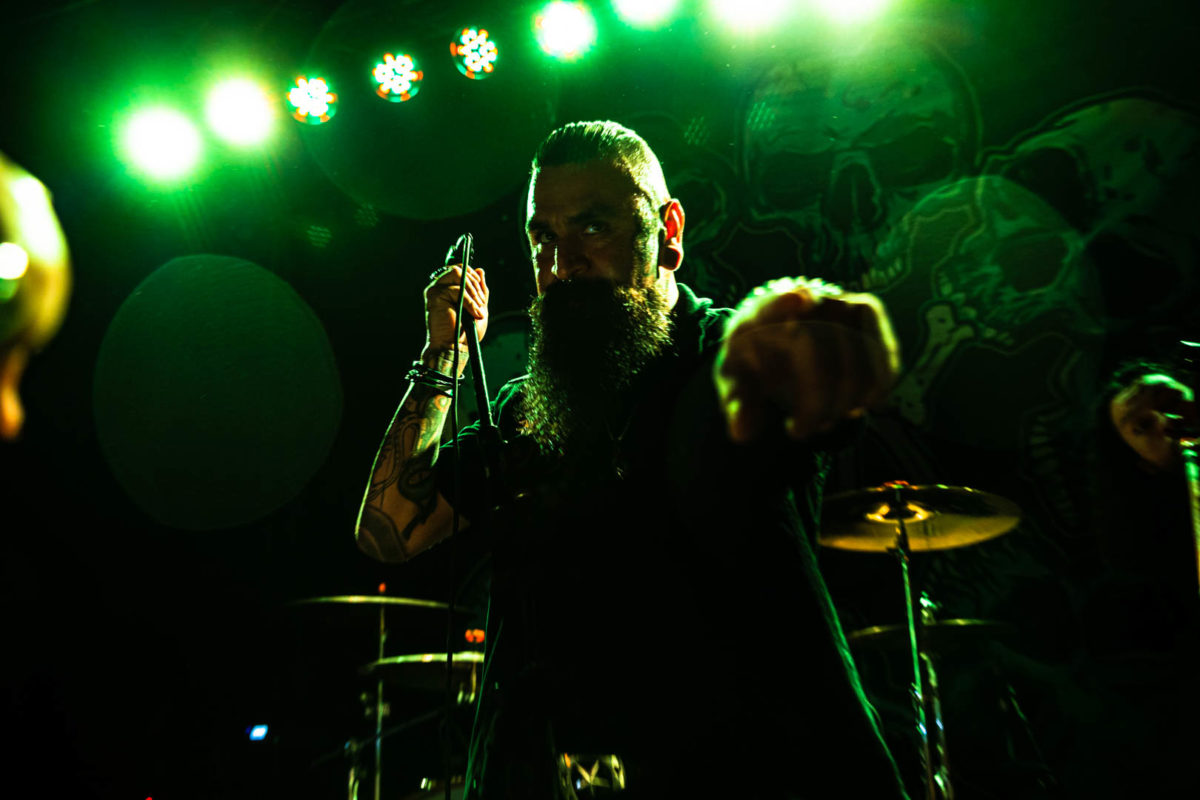
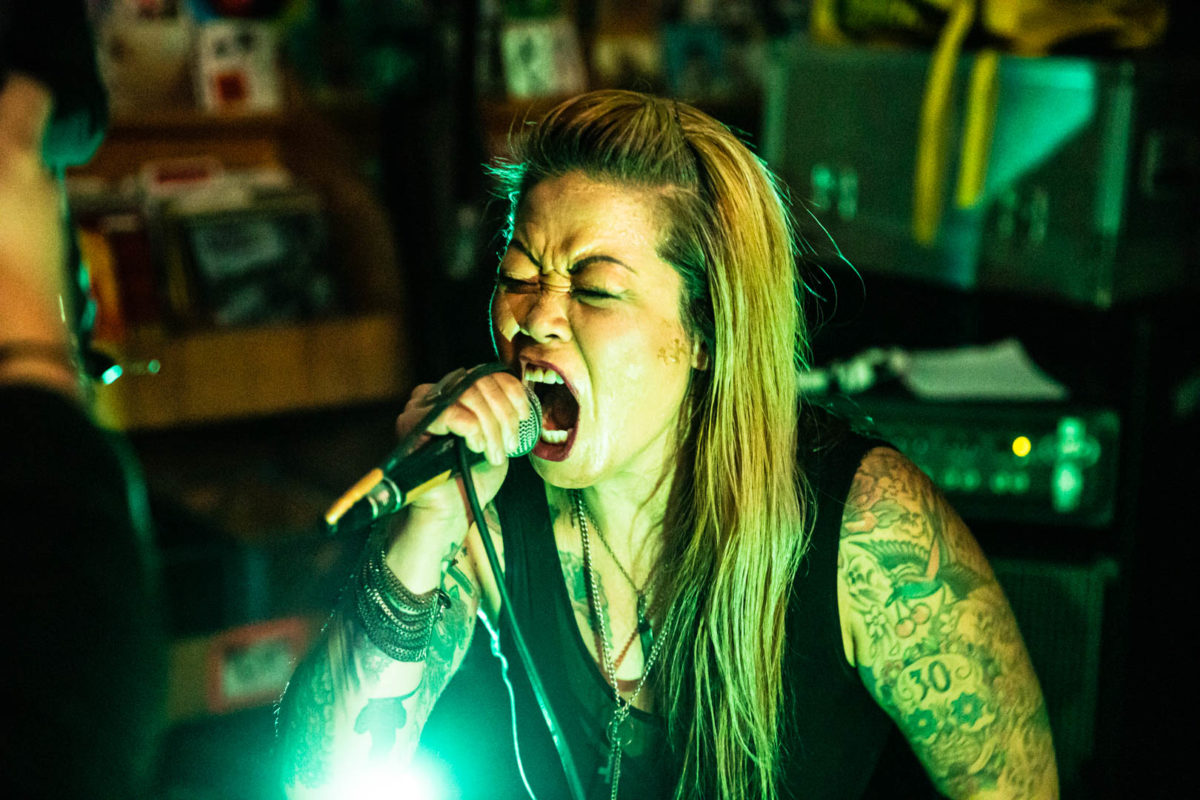
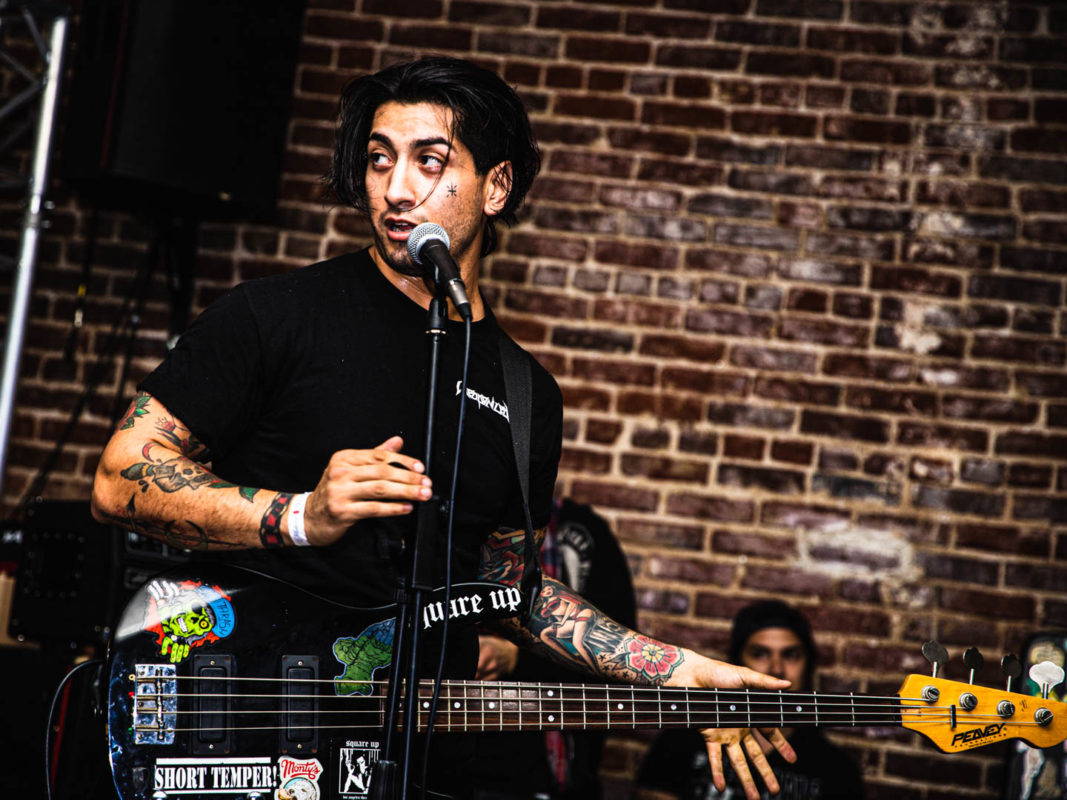
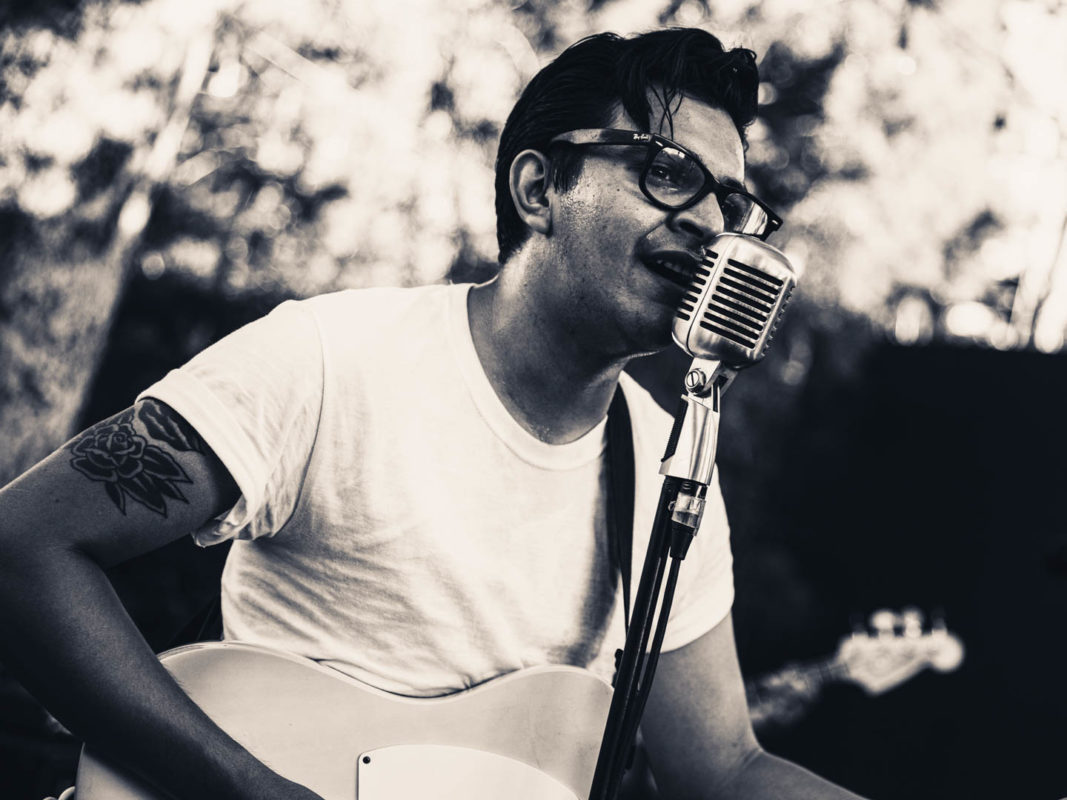
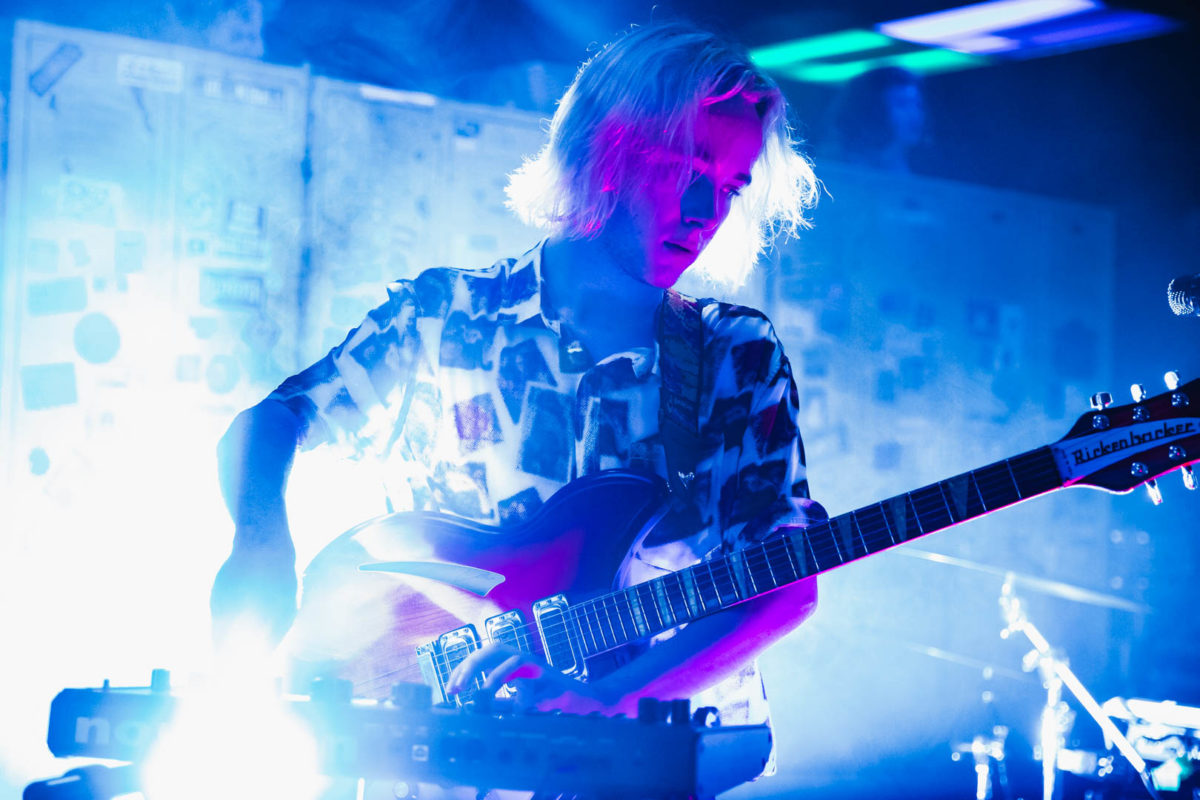
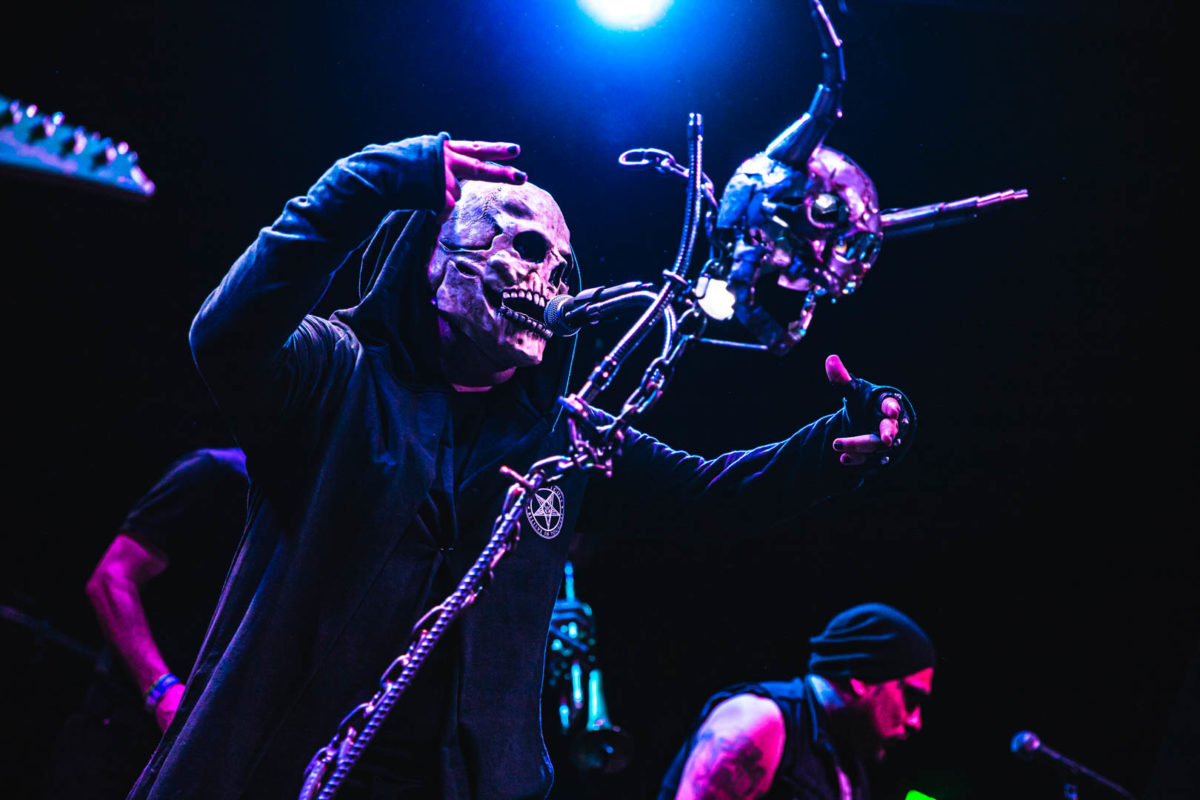
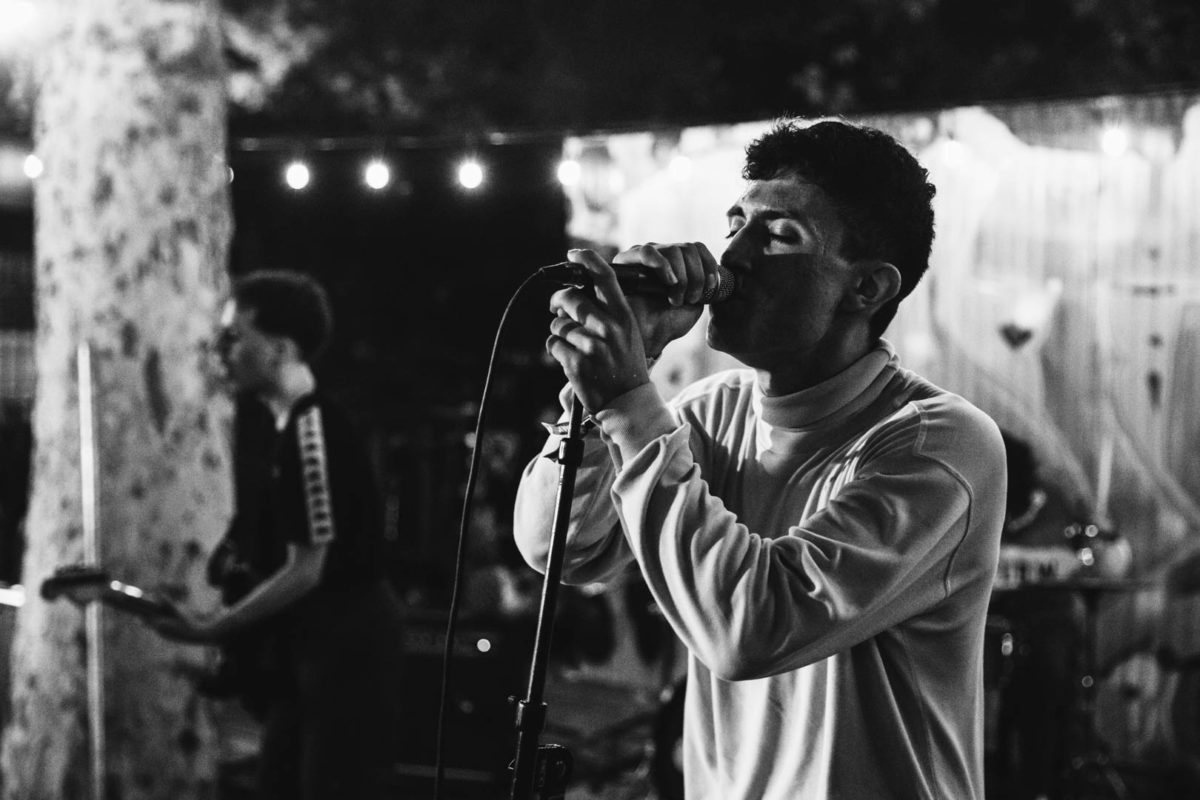
Close-Ups
These shots highlight specific members of the band, be sure to get at least one close-up of each member!
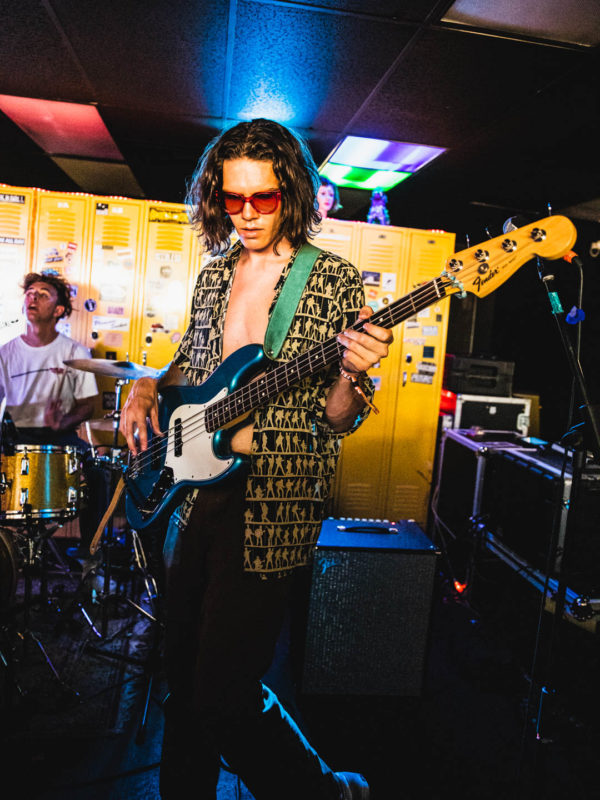
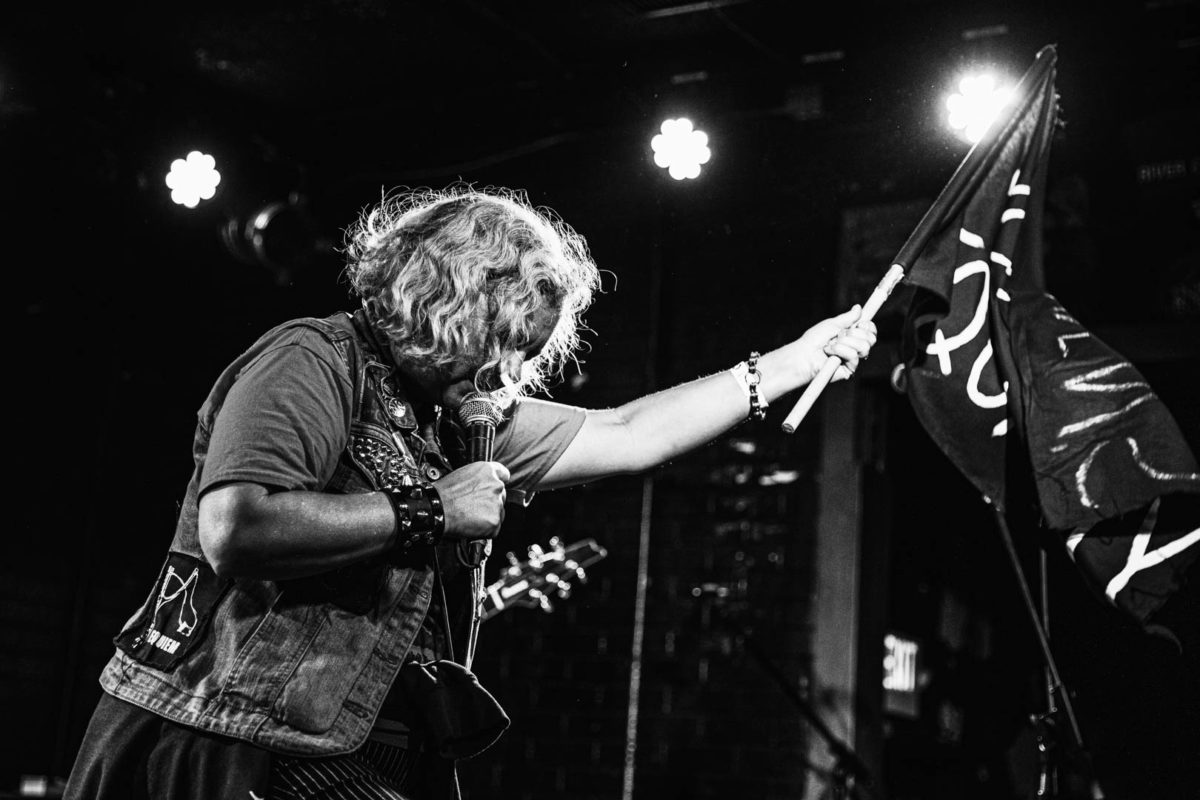
Verticals
These are the Instagram-worthy shots. When viewed on a phone, they take up the most screen real-estate and are very satisfying, but tricky to pull off sometimes. I try to grab as many of these as I can.
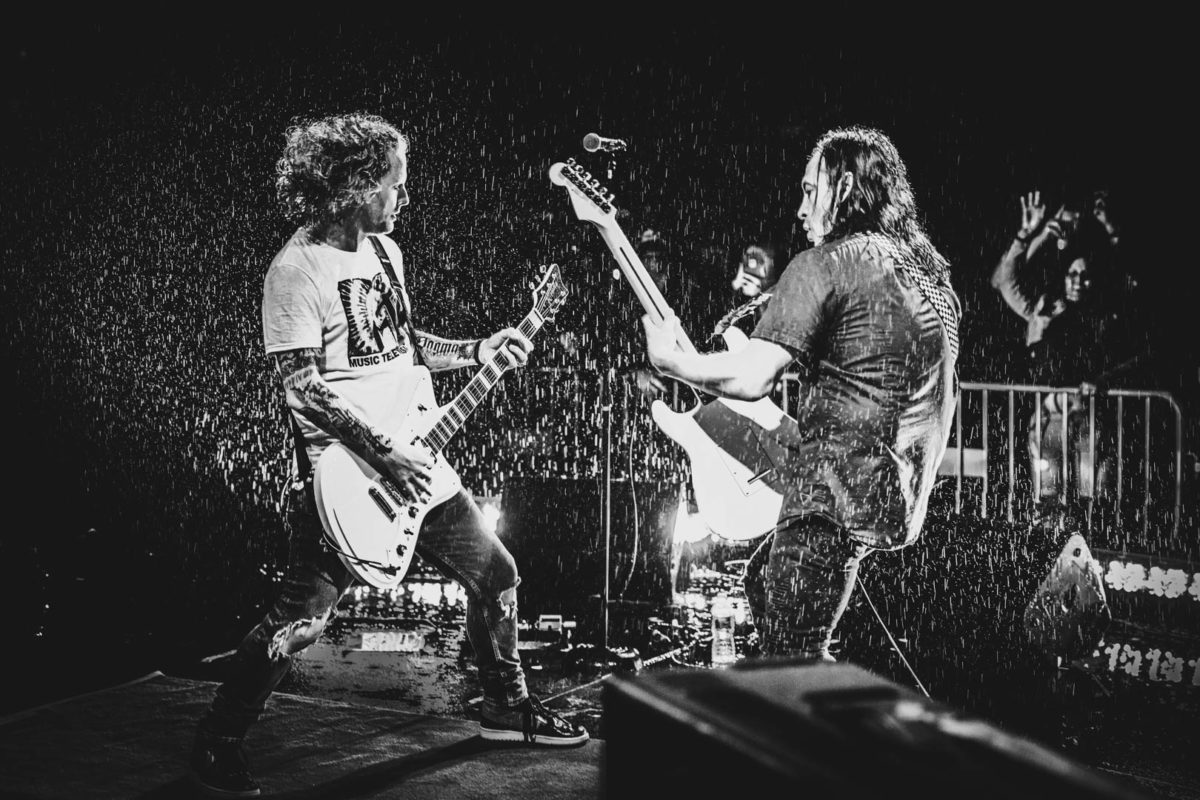
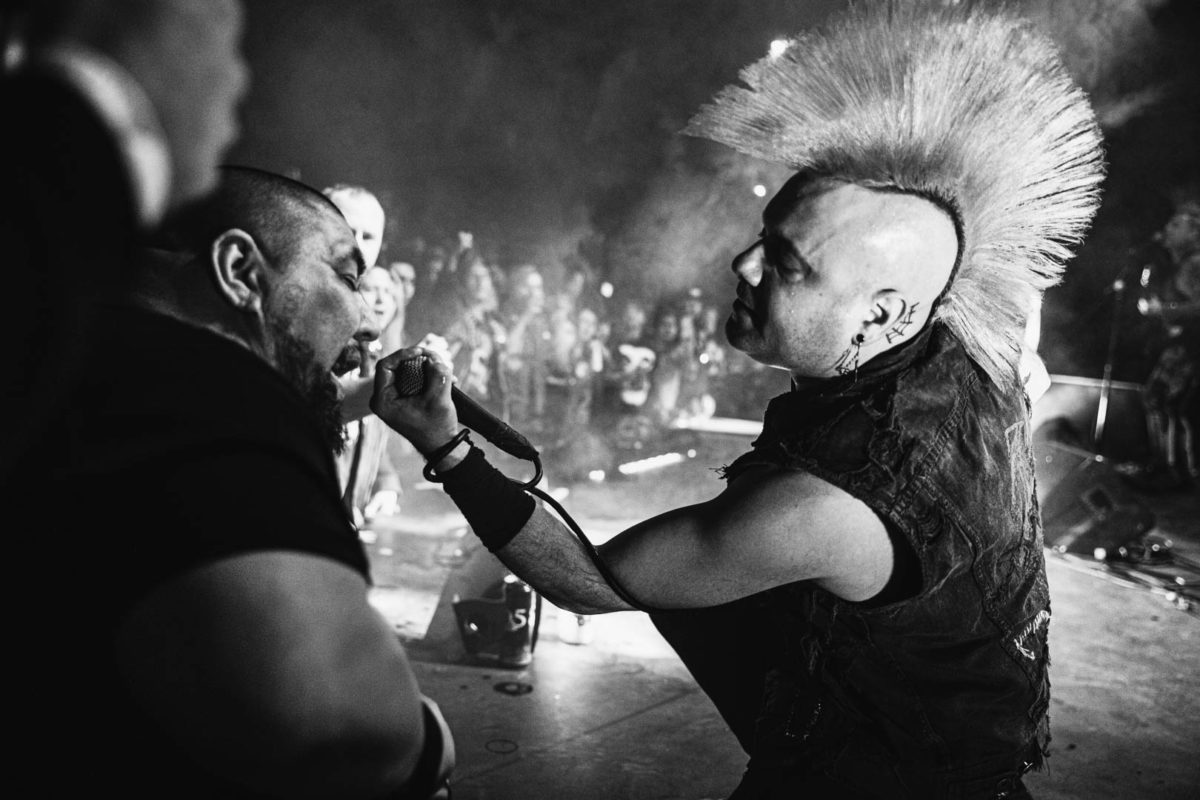
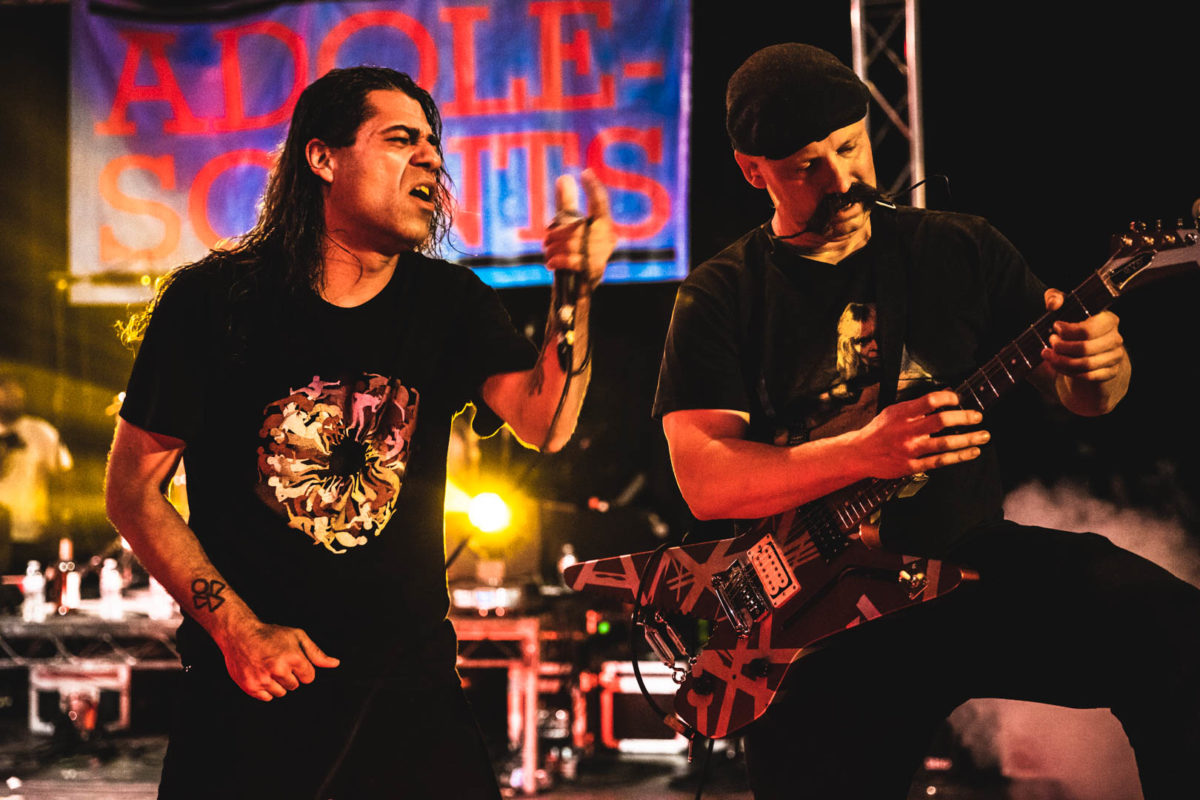
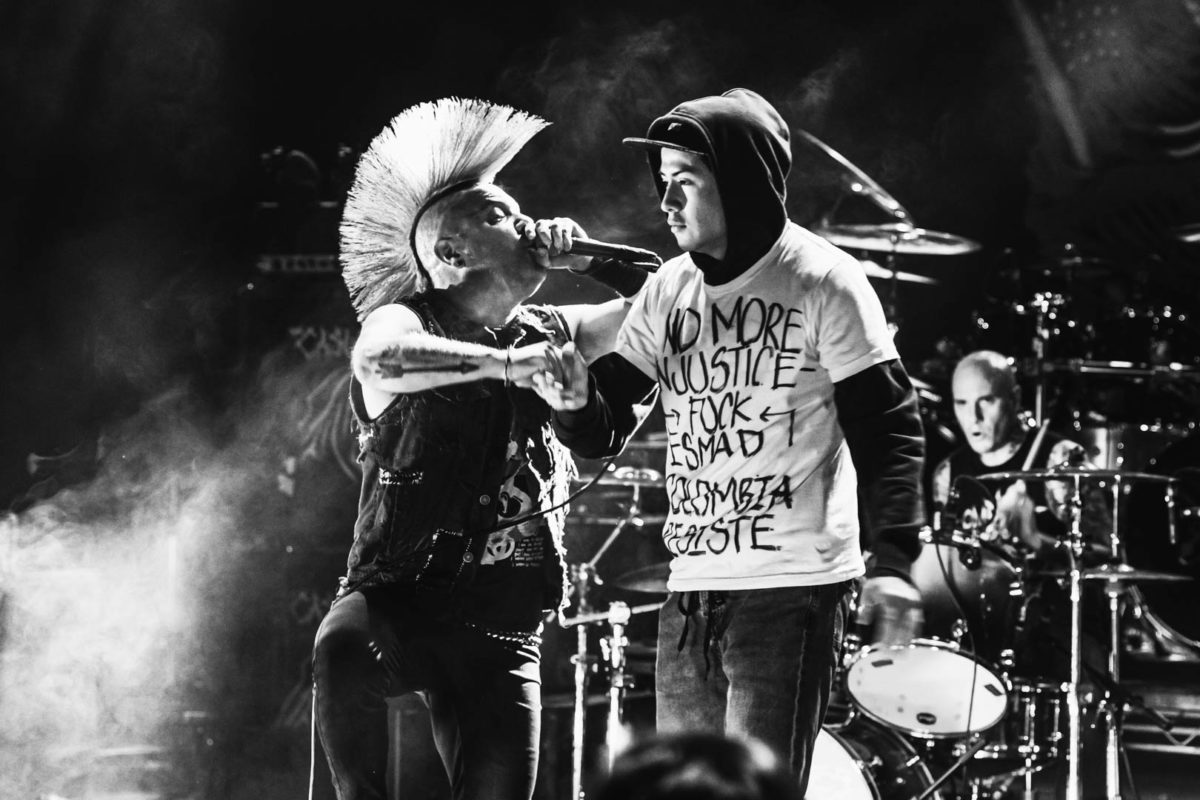
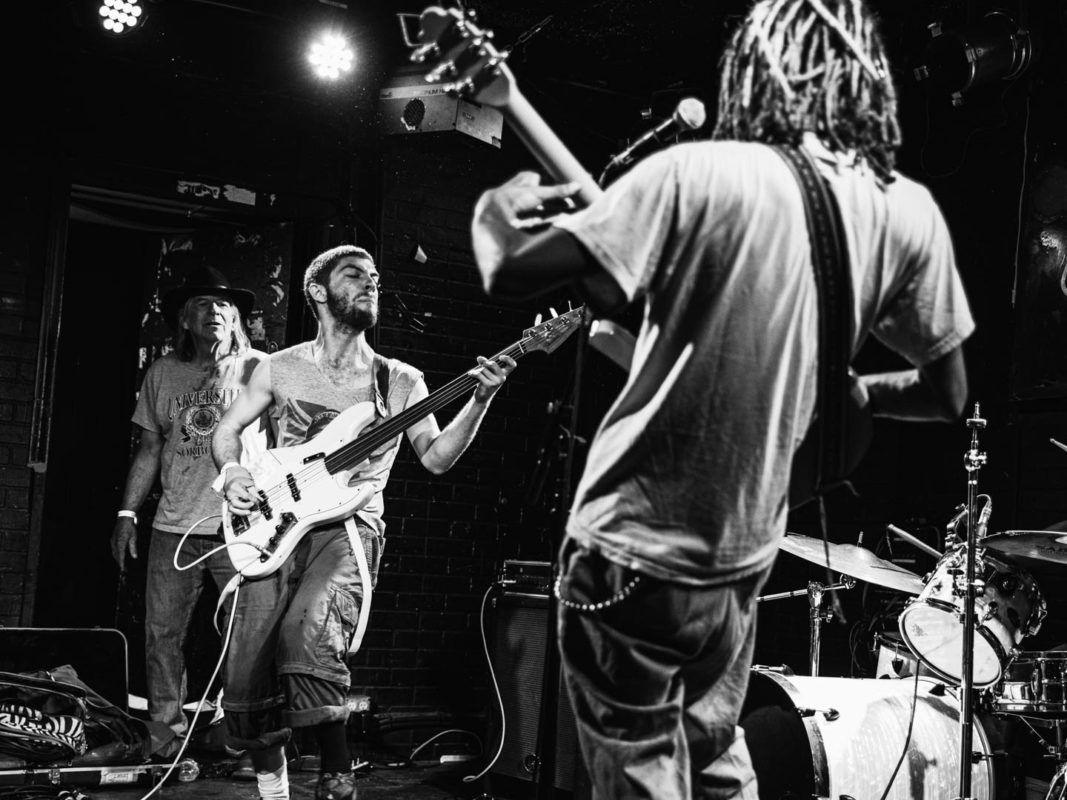
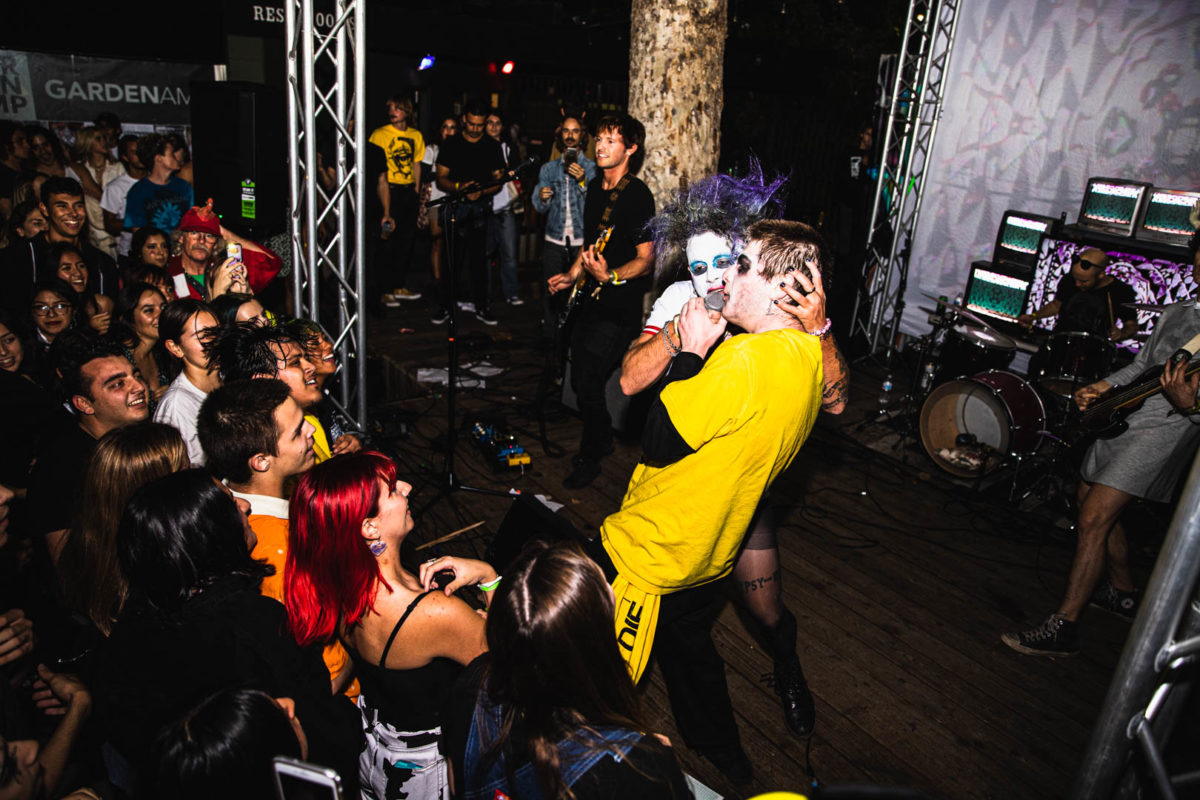
The Double Shot
This type of shot is unique in showing how the band interacts with each other on stage and helps tell the story. Maybe it’s the vocalist headbanging while the guitarist rails off into an incredible solo, or two guitarists harmonizing together, or even the bass player getting deep into it with the drummer. Some of my favorite shots are Double Shots!
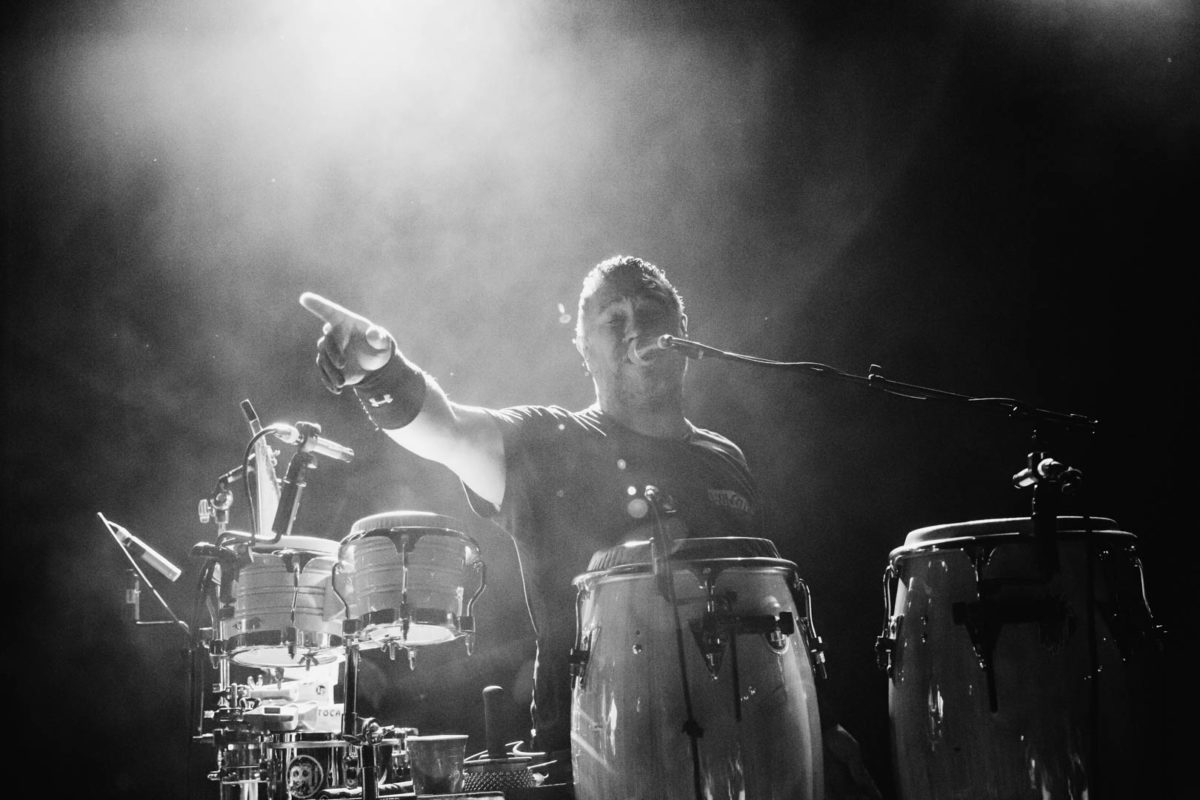
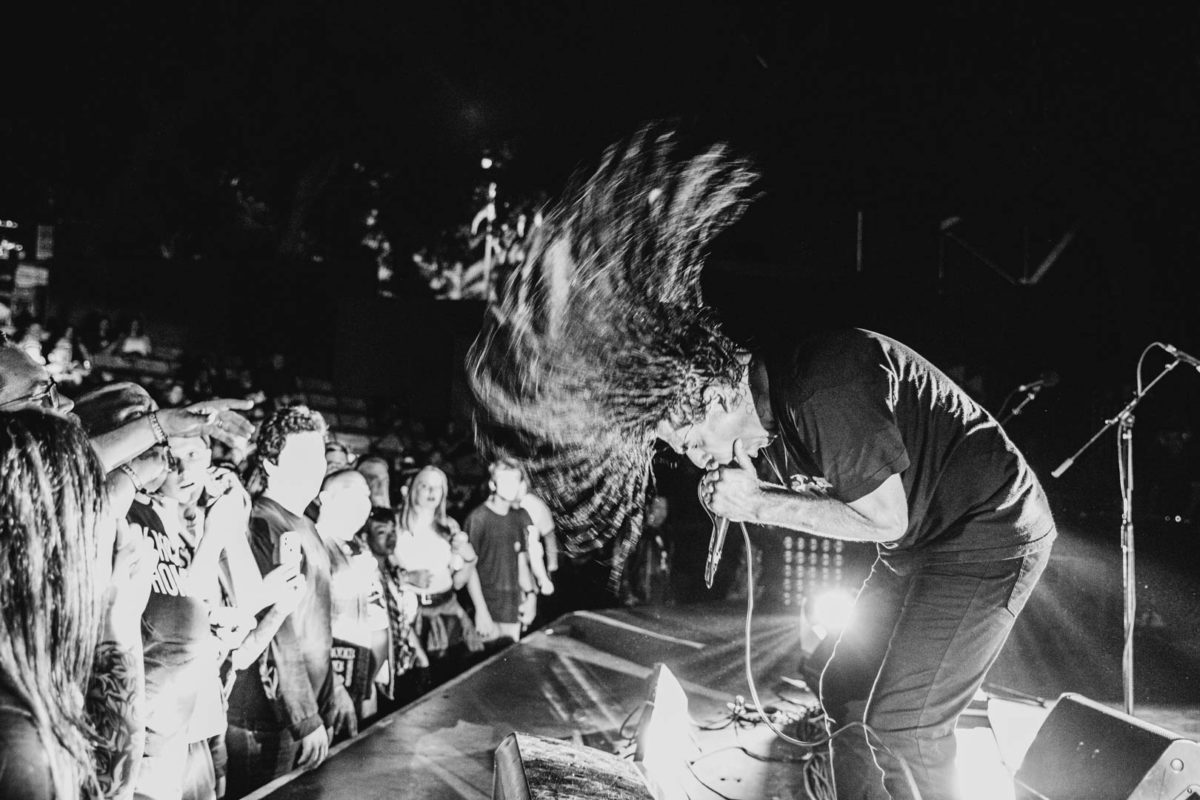
The “Motion” Shot
The hardest to pull off, but the most satisfying when you do, this is the motion shot. Keep your shutter speed slow and possibly use a flash. This will capture the artist, and show his or her movement with motion blur. This works especially well with drummers, as they sit stationary, but move only their arms & legs. A good motion shot will further help tell the story. Try experimenting also with moving the camera. With practice, you can easily pull these off!

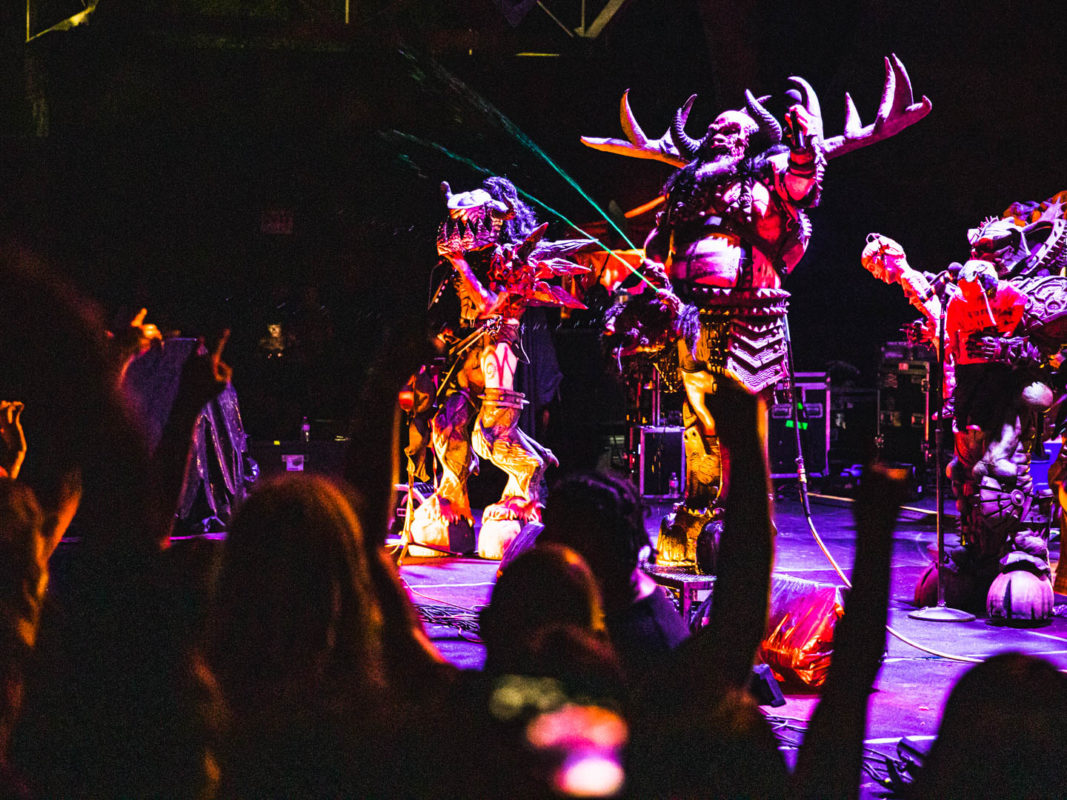
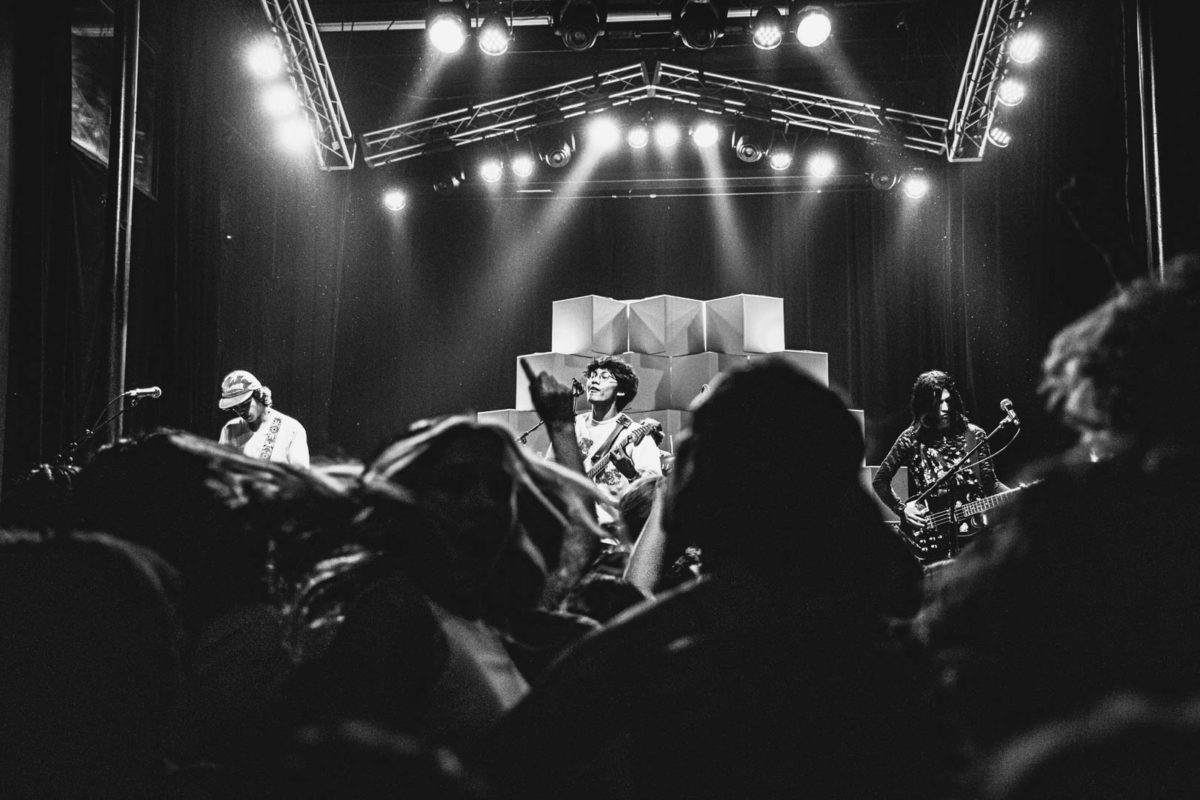
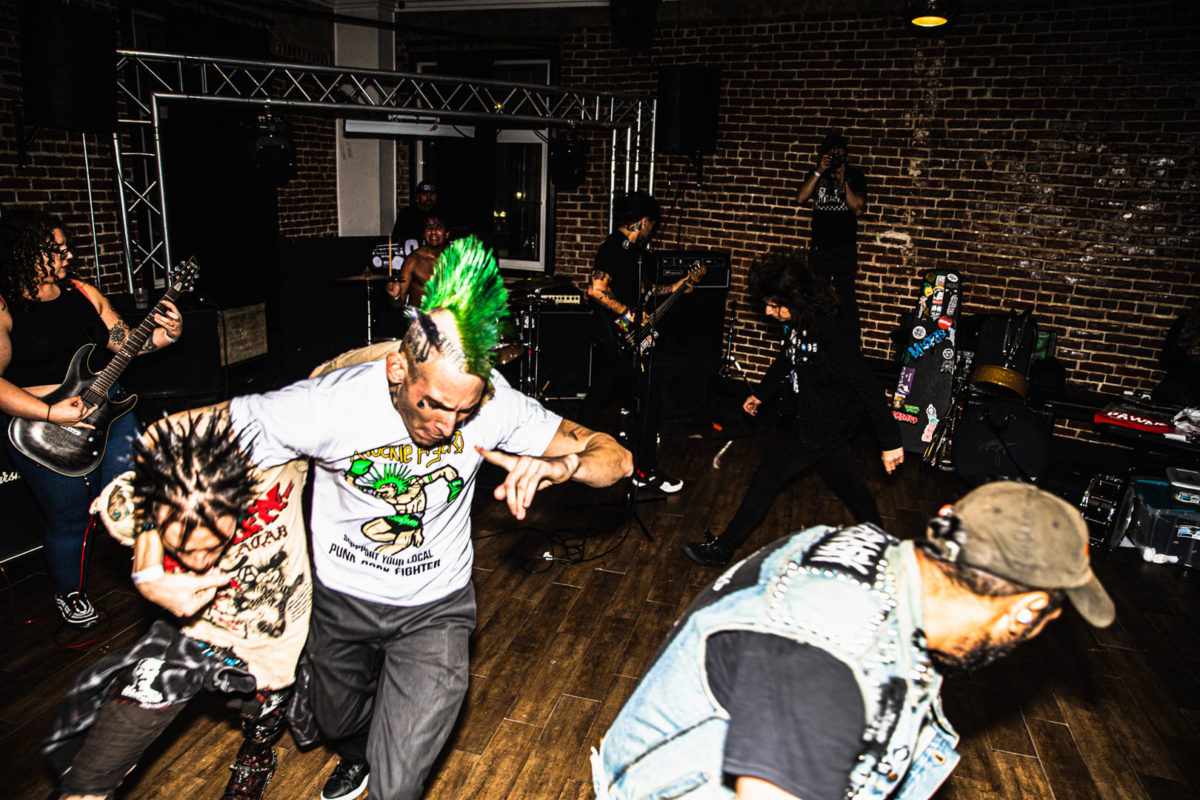
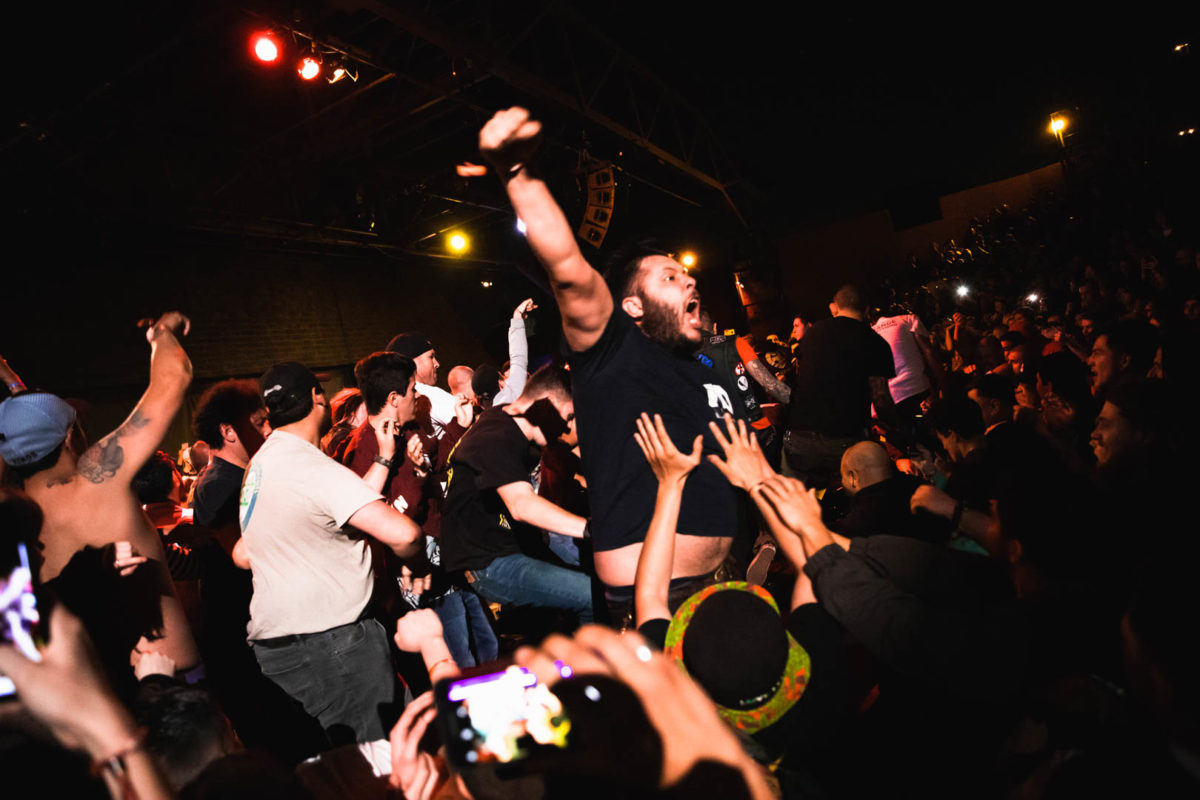
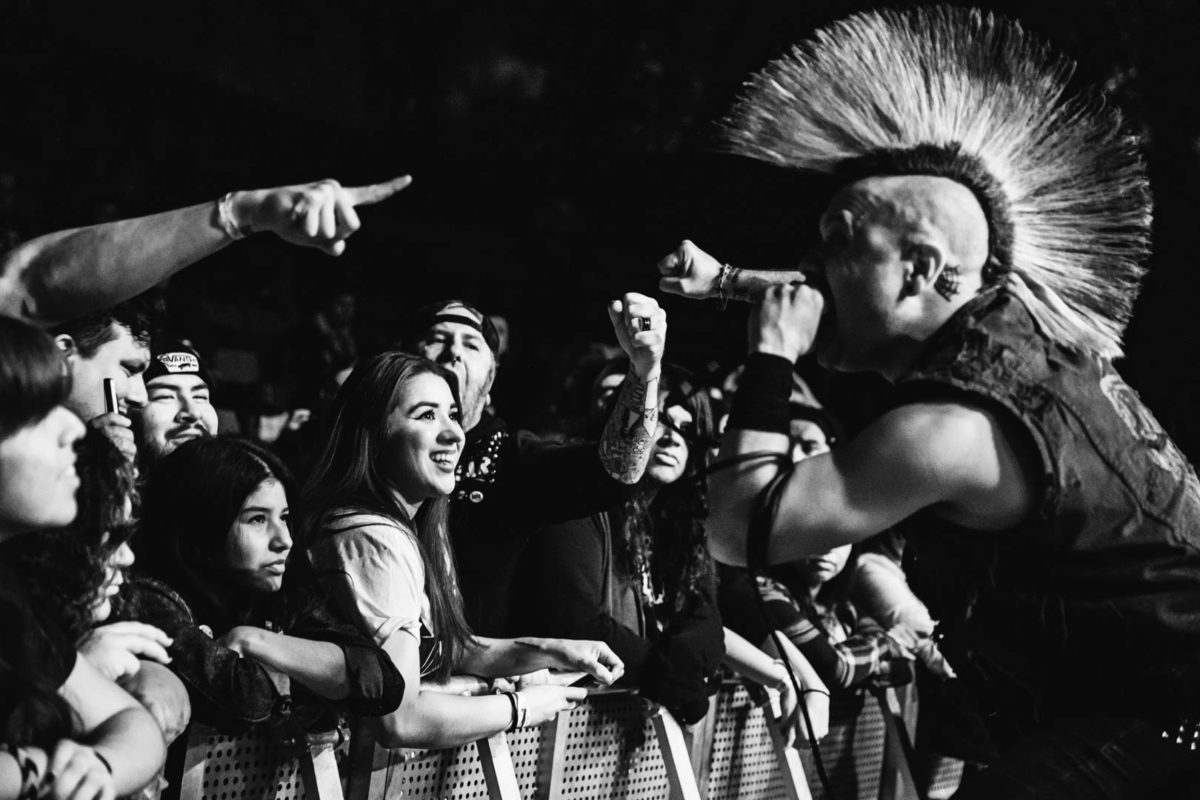
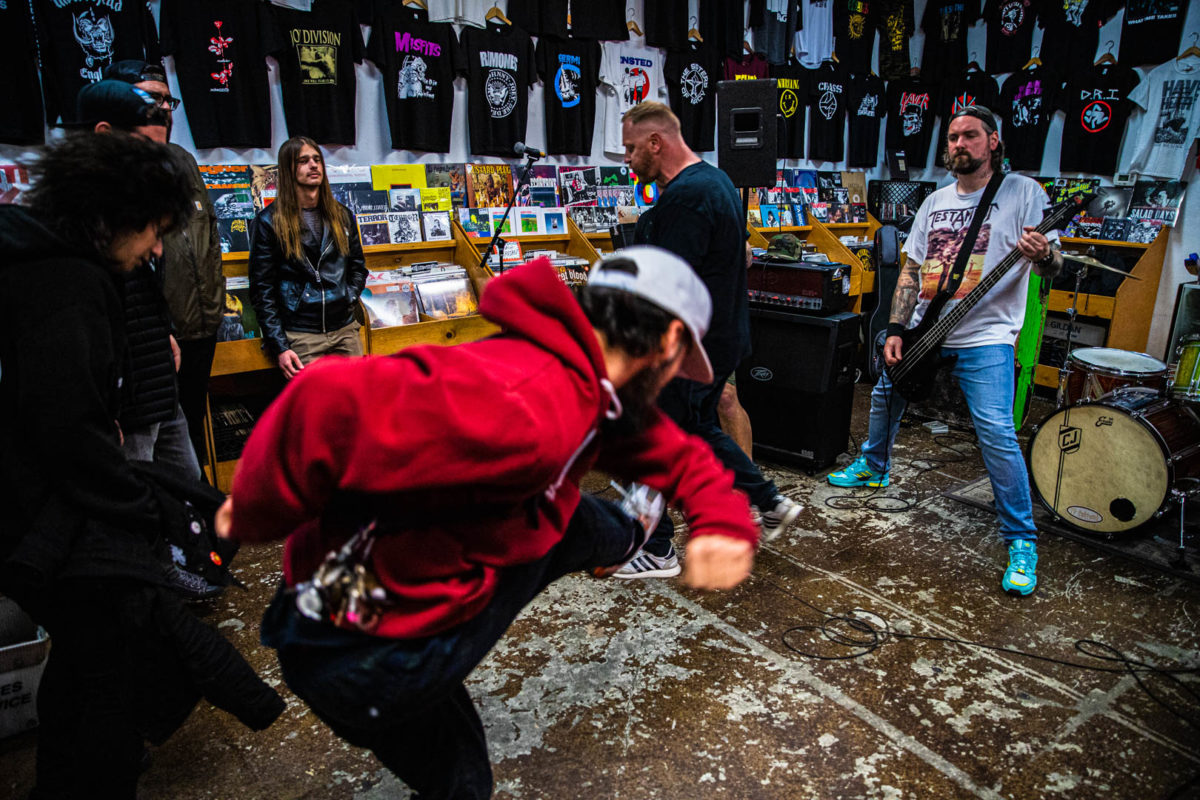
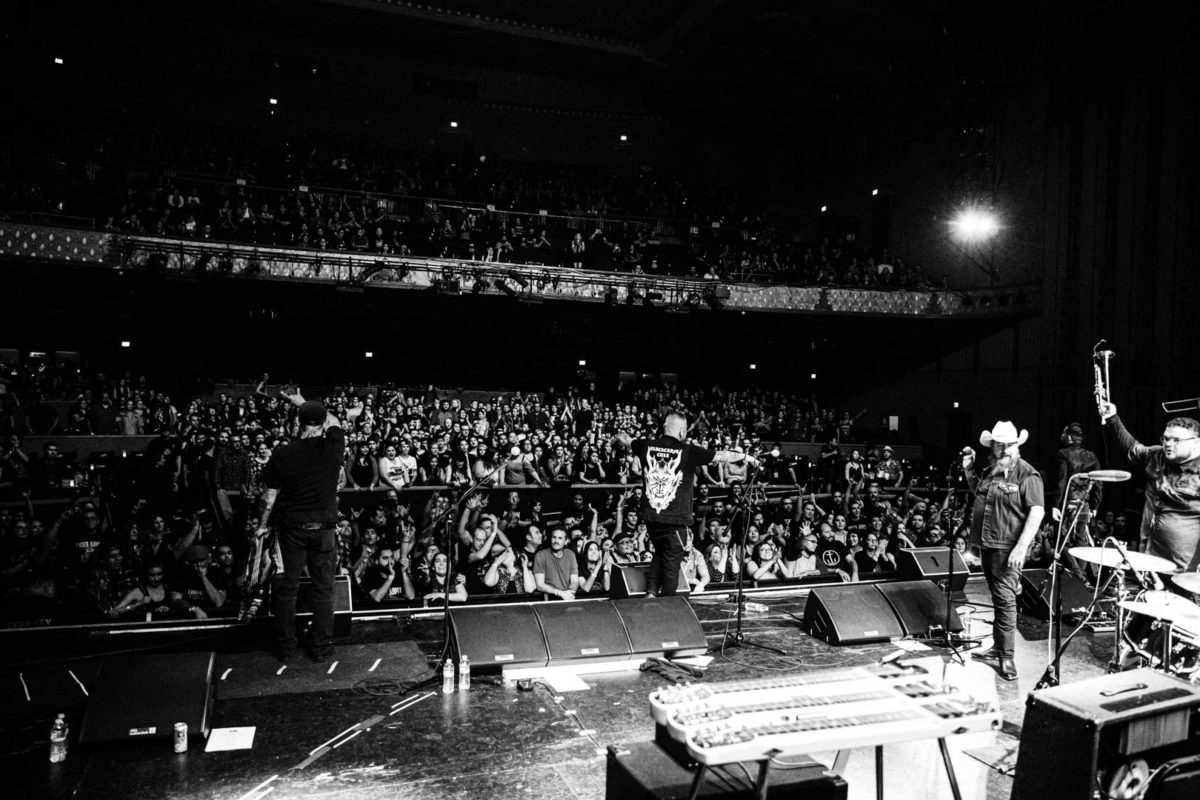
The “Crowd” Shot
Hardly ever seen, but a good way to show how packed or crazy a show was. Many photographers will only shoot the band the entire time, and forget about all of the other people at the show. This can be accomplished by either backing up and showing the whole crowd, standing just behind a few people and shooting through their heads focusing on the artists, or even getting on stage if possible. This helps further tell the story of the night, and people love finding themselves in a photo with their favorite musicians!
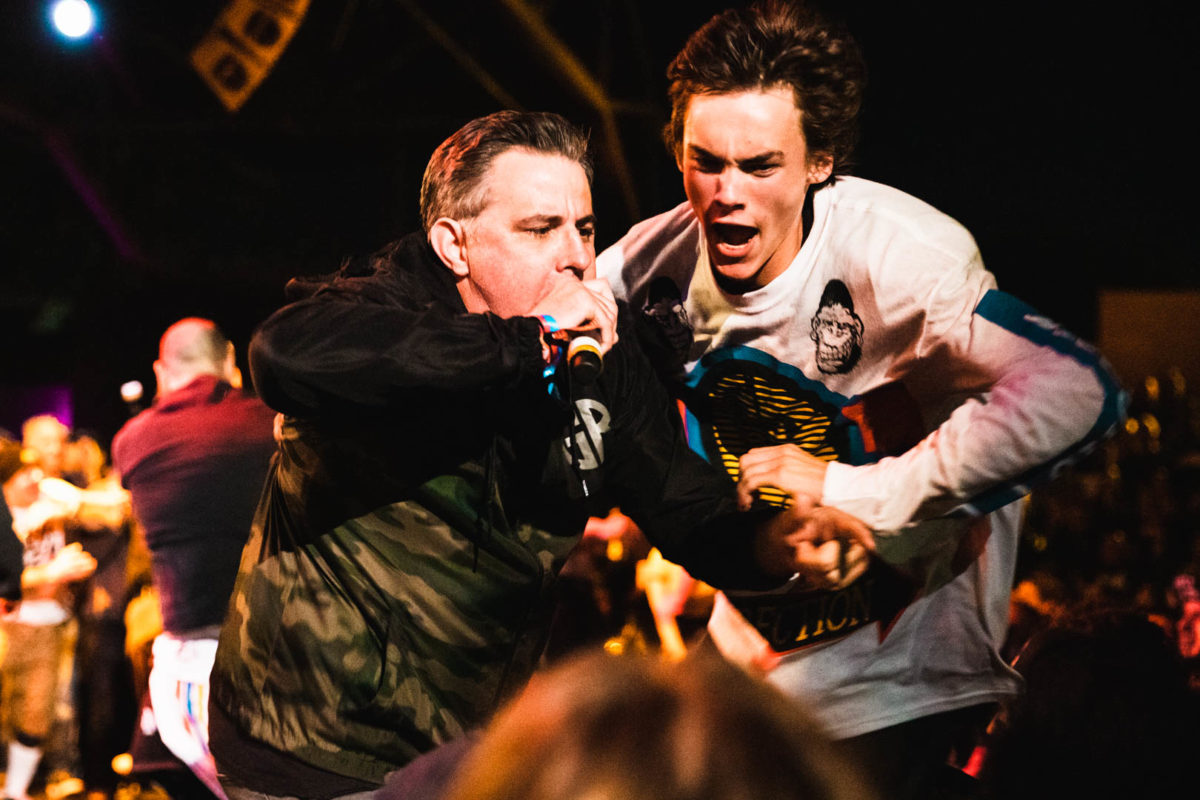
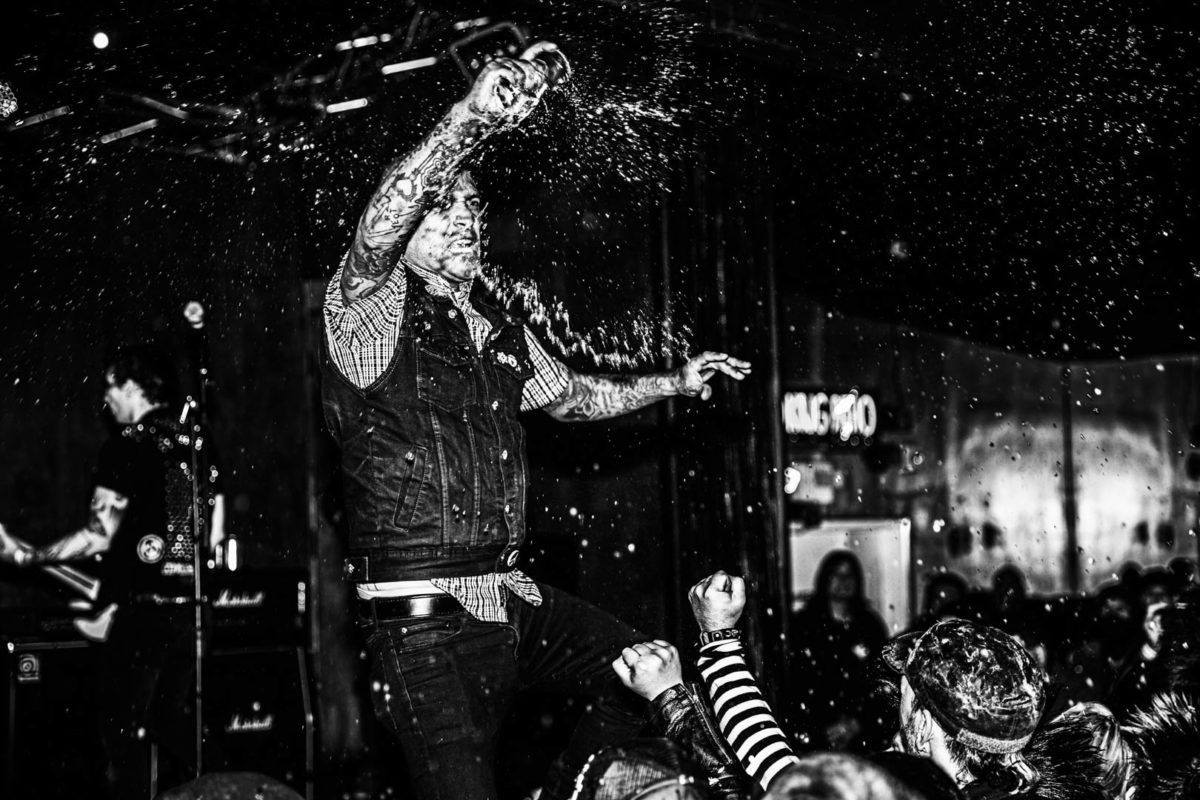
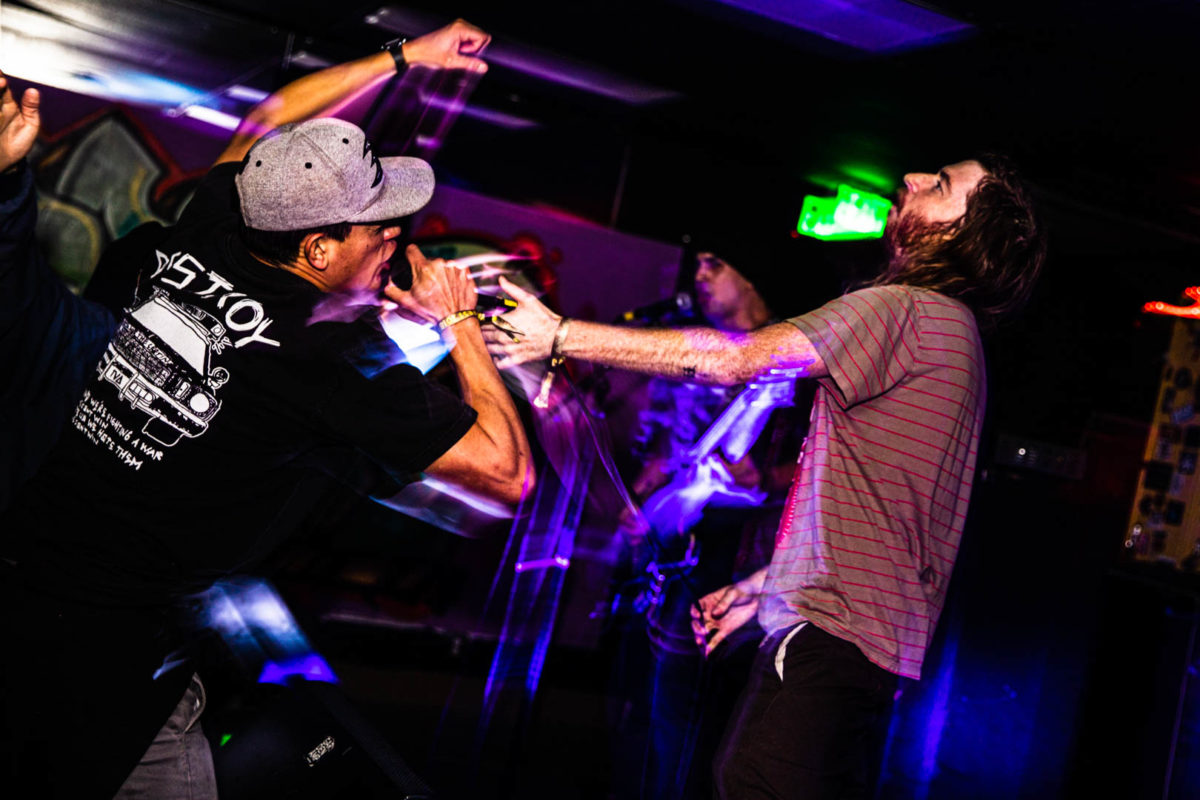
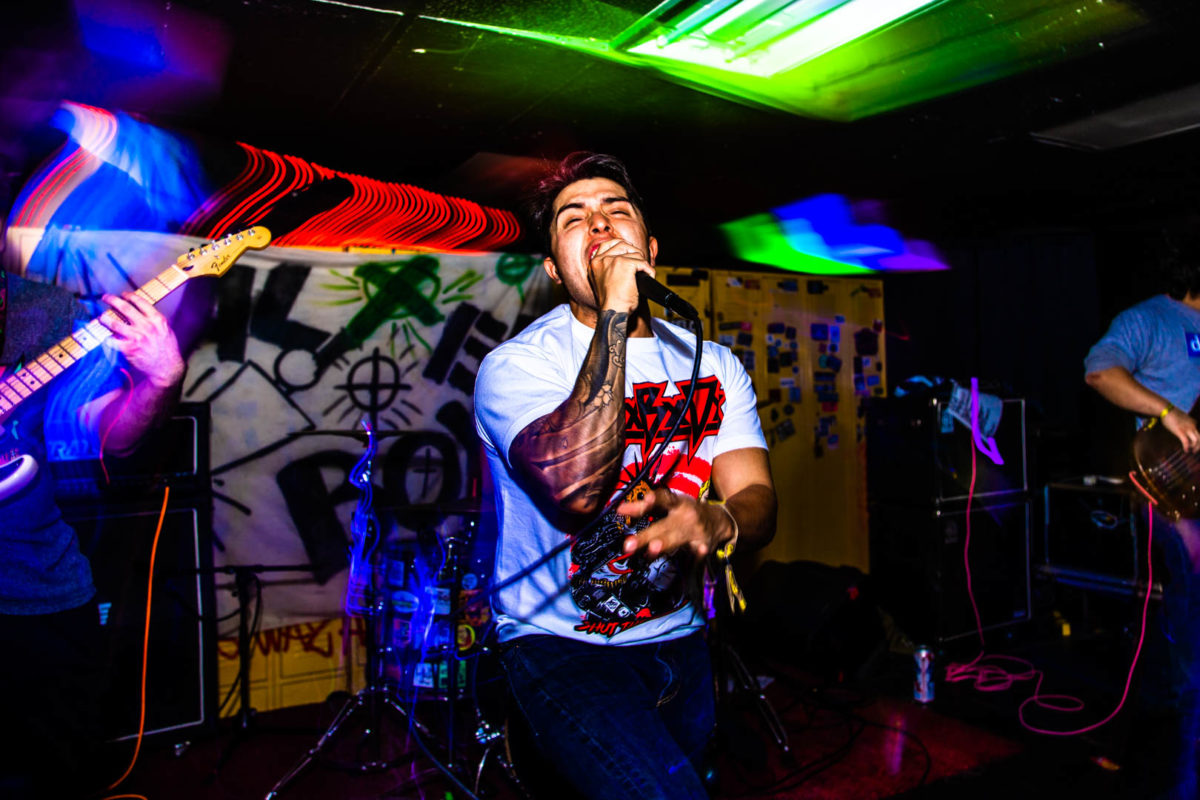
The “Action” Shot
This shot is fifty-percent luck and fifty-percent being prepared. The moments happen in an instant and are great ways of characterizing the musicians and immortalizing the night.
Get “That Perfect Spot” Early!
Venues tend to pack up, and everyone fights for the spots closest to the stage. It’s best practice to get a good spot up front early. If the venue has a barrier up, even better. Venues will sometimes have a “Three-Song Rule”, where photographers can only be upfront at the barrier or even standing in the pit area for the first three songs. Depending on the music genre, this could mean anywhere from 5 minutes to 20 minutes. I would advise staying up close as long as possible and snap away as much as you can before security asks you to leave the area. Sometimes security might not realize that three songs have gone by and you can stay up there for an extra song. This will vary by venue though, and some venues won’t even have this rule, so you can breathe a little easier and stay up close the whole show, or spend some time up close, then back up and get shots of the stage from farther back to show the crowd!
Respect The Venue
Remember that no matter if you’re there on your own, with the band, or even invited by the venue, it’s a privilege to be there shooting. It’s best to always listen to security if they ask you to move or stop what you’re doing. They have a job to do. If they’re asking you to leave an area, or telling you that you can no longer shoot, they’re not doing it to pick on you. They are doing it because the venue or artist has certain restrictions, and security is only trying to keep the peace and do their job of keeping people safe. It’s not worth the shot to get thrown out of the venue or even blacklisted. I’ve been told in the past that I was allowed to be on stage to shoot a band I was hired to shoot, but told that “if you break anything on stage, your camera is mine”.

Networking and Making Friends
As a photographer, you are actually serving the interest of many people at the show. It’ll do you well to talk to as many people there as possible. It’s always a good idea to approach a member of the band you just shot after the show and show them your best shot of the night. Let me be the first to tell you that musicians LOVE photos of themselves. If you get a great shot of them and get to know them, they may just invite you back to shoot another show for them. This could be a potential way to make a little bit of money, or even a way to gain a photo pass for a future show that the band will play. If you’re not already posting these photos to your Instagram, then you definitely should! Don’t forget also to tag the bands & the venue in your posts as well! This leads to the artist reposting your work and only helps you get in to shoot bigger and bigger shows!

Get Your Photos Out In A Timely Manner
I’ll be honest with you, sometimes I’m a bit of a procrastinator when it comes to editing. Whenever I shoot a show I’ll be so stoked to edit, but when it comes time to sit at my computer and crank out a few edits, I get a little lazy. However, the sooner you get your photos out the better. Thanks to the ability to transfer photos from my camera to my phone wirelessly, I can even get a few photos out the same night. People usually will talk about a show for about 3-5 days before that show becomes old news, especially here in Southern California, where shows happen practically weekly. Try and get your photos out in 1-3 days if possible so that you can get the most amount of attention on those photos.
Don’t Forget To Have Fun!
Seriously! Remember to take in all the great moments of the show and actually enjoy the music for a bit. I usually will take a break sometime in between the set and just put my camera down to watch the show, I keep my camera handy in case anything special happens, but don’t sit there and shoot for the entire set, you’ll end up way too many photos anyway. Capture the great moments, and enjoy the rest, you’ve earned it!
I realize that at the time of writing this that most shows have been canceled or postponed while we deal with the current pandemic. This will not go on forever though and we should be going to shows again soon!